What’s Inside:
- First, Let’s Talk Coffee
Why your morning cup is a surprisingly good place to start making low-tox swaps. - Build a Coffee Station You’ll Actually Love
The simple essentials that turn your coffee corner into a cozy little morning ritual. - The Low-Tox Coffee Gear Guide
Brewers, grinders, kettles, mugs, and the materials worth paying attention to. - The Water in Your Coffee Matters More Than You Think
Because your coffee is mostly water—and your cup deserves better than an afterthought. - What’s Actually in Your Coffee?
A look at beans, filters, storage, and those little add-ins that can make a big difference. - Coffee Drinks 101: Finally, the Menu Makes Sense
Americano? Cortado? Flat white? Macchiato? Let’s decode the café menu without requiring a barista certification. - So…What’s the Difference Between a Latte and a Cappuccino?
Plus the surprisingly simple formula behind all your favorite espresso drinks. - Not an Espresso Person? You’re Still Invited.
Pour-over, French press, Moka pot, drip coffee—and which one might be your perfect match. - Cold Coffee Has Entered the Chat
Iced coffee, cold brew, and nitro: what’s actually different? - The “Please Don’t Let My Coffee Maker Become a Science Experiment” Section
Cleaning, drying, and keeping those hidden nooks from becoming questionable. - My Simple Low-Tox Coffee Station Formula
The easy checklist for upgrading your routine without changing your entire kitchen. - Start With One Swap
Because low-tox living should make your life feel better—not give you another 47 things to worry about. Let’s go!
Coffee Talk:
If coffee is part of your morning ritual, you might as well make it a good one.
And by good, I mean more than delicious.
Your coffee station is one of those little areas of your home that you interact with every single day. So when I started making changes toward a lower-tox lifestyle, my coffee routine was one of the first places I looked.
I started asking questions I had never really thought about before:
What is my coffee made with?
What is my machine made of?
What does the hot water actually touch?
What am I adding to my cup?
And perhaps most importantly—how hard would it be to make some better choices?
The good news?
It doesn’t have to be complicated.
You don’t need to turn your kitchen into a coffee laboratory or become a professional barista overnight. A few intentional swaps can make your morning coffee routine feel cleaner, simpler, and a whole lot more enjoyable.
Let’s make your coffee corner a little healthier—and maybe a little prettier while we’re at it.
**People also like reading, “The Top 5 Healthiest Hot Drinks ( With Recipes & Wellness Tips)”
What Exactly Is a Low-Tox Coffee Station?
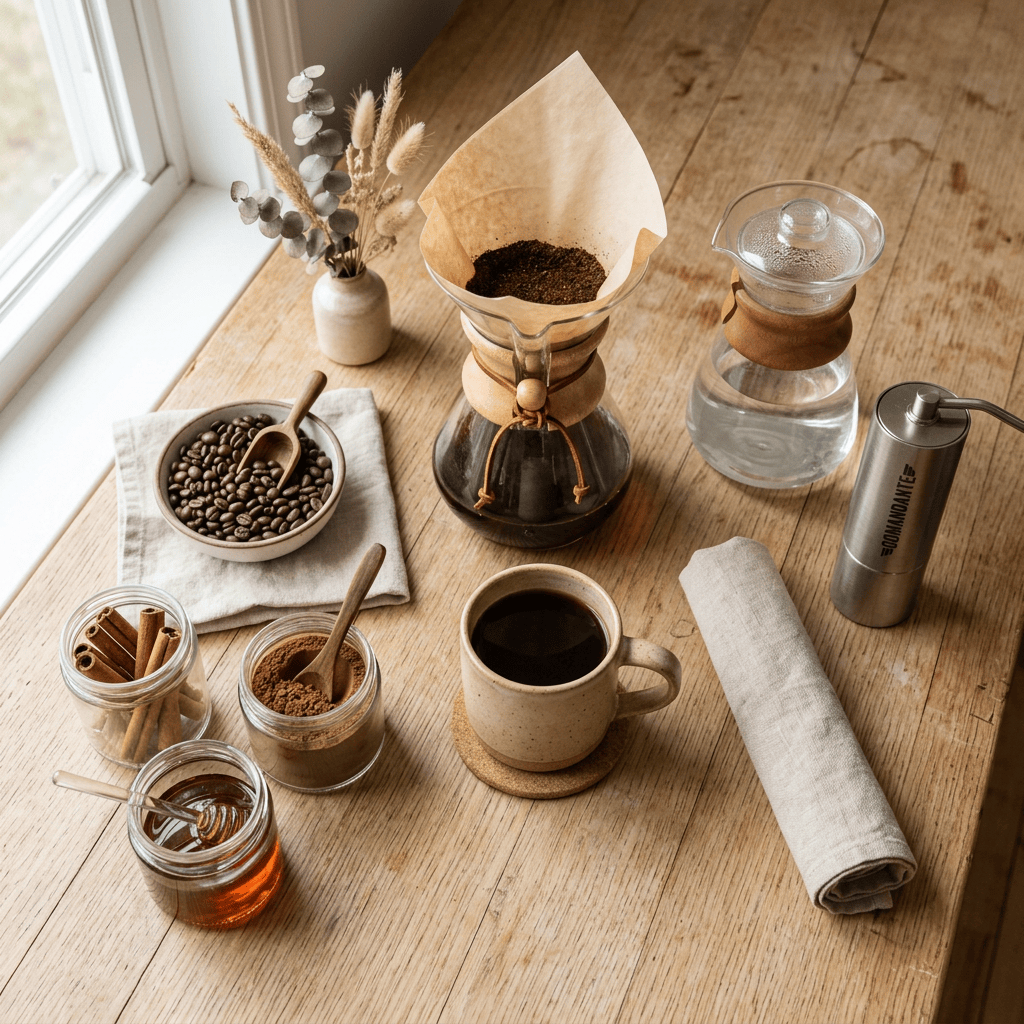
For me, a low-tox coffee station is less about chasing perfection and more about being thoughtful about the things that come into contact with my food and drinks every day.
The biggest areas to consider are:
- The water you use
- The materials your coffee and hot water come into contact with
- The coffee beans and ingredients you choose
- How easy your equipment is to clean and dry
- What you use to store, stir, and drink your coffee
One simple principle from my own low-tox journey really stuck with me:
Pay special attention when heat, acidity, and plastic come together.
Coffee is hot and mildly acidic, so choosing brewing equipment with glass, stainless steel, ceramic, or other materials designed for hot beverages can be a simple place to start.
And you don’t have to replace everything at once.
Start with the thing you use most.
*This post contains affiliate links. As an Amazon Associate, I earn from qualifying purchases. This means that if you click on a link and make a purchase, I may receive a small commission at no additional cost to you. I only recommend products I genuinely love, use, or believe will add value to your home and wellness journey. Thank you for supporting my work! Full Healthy Coffee Station Storefront Here
Step One: Create a Coffee Station You Actually Enjoy
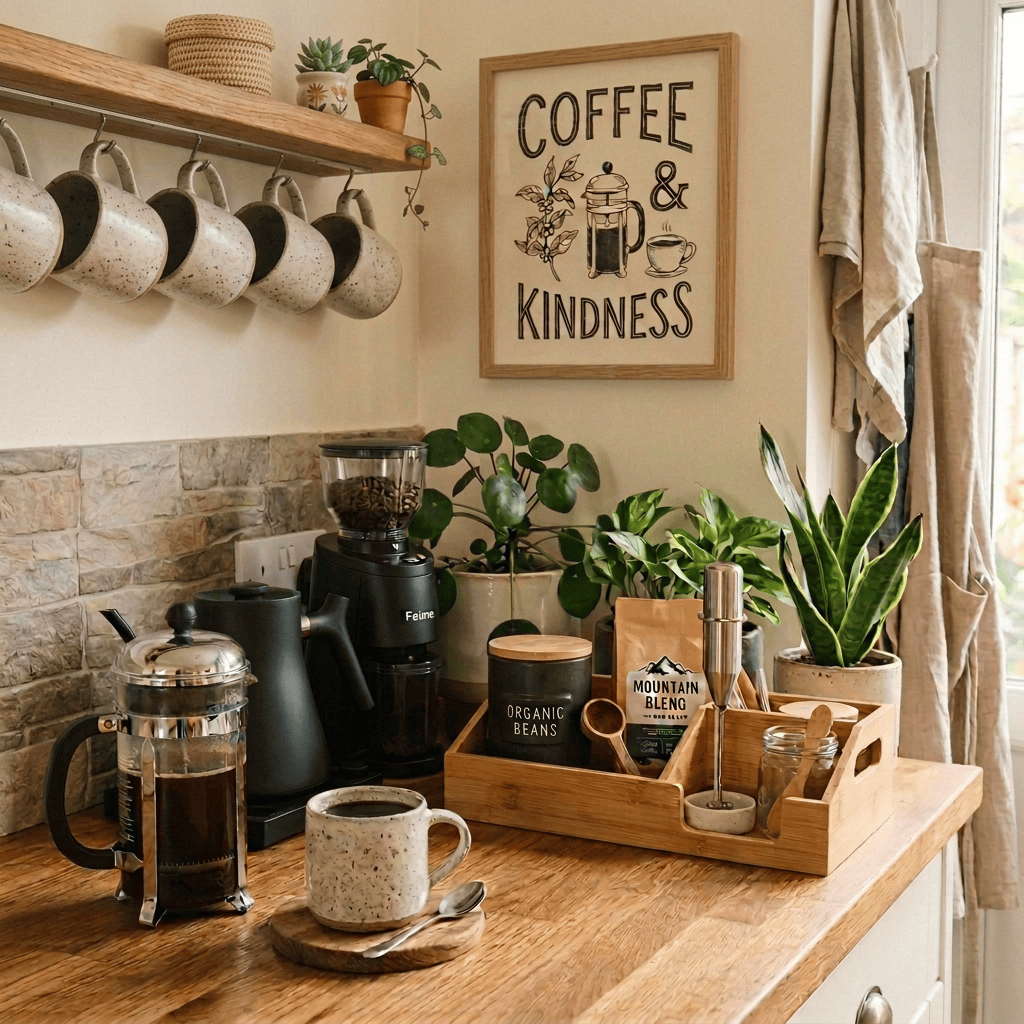
Before we get into the coffee itself, let’s talk about the station.
Because let’s be honest—if your coffee maker is wedged between the toaster and a pile of mail, it’s probably not exactly giving peaceful morning ritual.
Your coffee station doesn’t have to be fancy. It can be:
- A dedicated section of countertop
- A small rolling coffee cart
- A coffee hutch
- A shelf with a little room underneath
Ideally, you’ll want it close to an outlet and somewhere near your water source or filtered-water pitcher.
Then keep the essentials within easy reach:
Brewer + grinder + kettle + mugs + coffee + your favorite add-ins.
That’s really the heart of it.
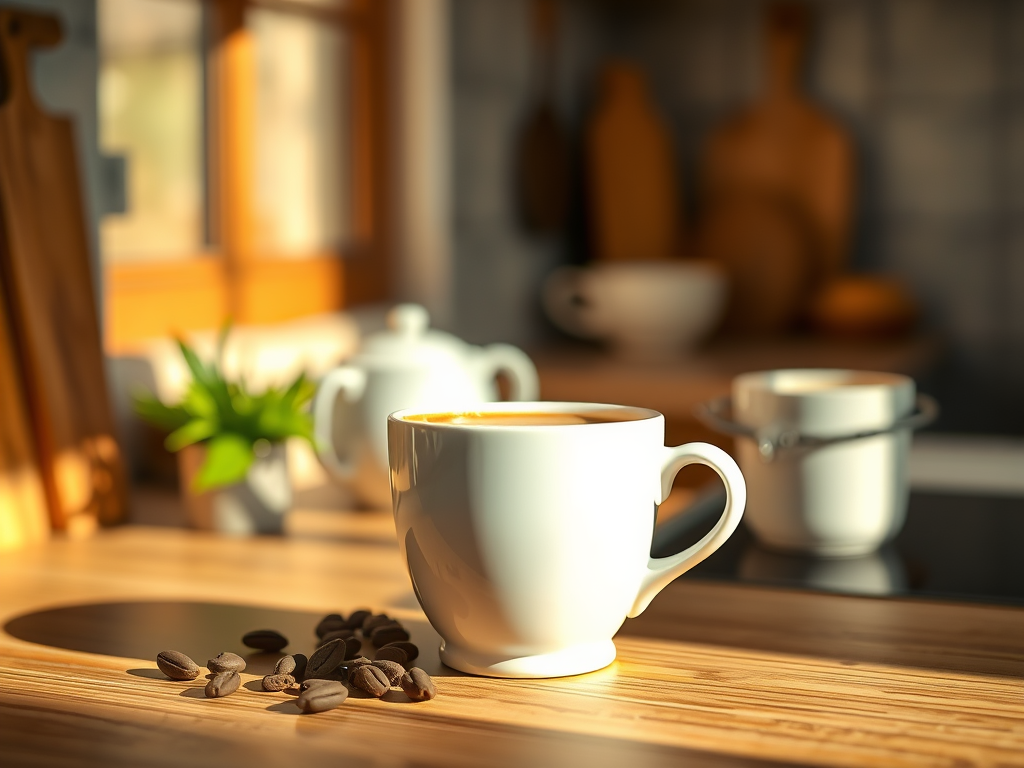
Add a little silicone tray underneath your machine for drips and stray grounds, a pretty dish towel, and maybe a plant or small piece of artwork.
Suddenly, making coffee feels less like a chore and more like a tiny morning ritual.
The Low-Tox Coffee Station Essentials
You don’t need every gadget on the coffee aisle.
Start with the basics.
**My Full Comparison Guide Here– Why in the heck are these products so great?
-Your Brewer
This is where you have the most choices.
You can go completely manual with a pour-over, French press, or Moka pot. Or, if convenience is non-negotiable, look for an automatic machine designed with thoughtful materials and a brewing path that minimizes plastic contact with hot water.
Some of the options worth exploring include:
- Glass pour-over brewers such as a Chemex Pour-Over Coffee Maker with borosilicate glass
- Ceramic pour-over brewers such as a lead-free Hario V60 Drip-Over
- Stainless steel and glass French presses
- Stainless steel Moka pots
- Manual espresso machines (all metal brew path)
- Lever espresso machines (all metal brew path)
- Specialty automatic brewers designed with glass and stainless-steel components, like the plastic-free, Simply Good Coffee Brewer
- Specialty plastic-free coffee pod-machines (you can get a re-usable stainless steel “pod” basket so you can use your own loose coffee)
The goal isn’t necessarily to find the perfect machine.
It’s to find the machine that fits your actual life.
Because the healthiest coffee maker in the world isn’t very helpful if it takes 25 minutes to make your coffee and you hate using it.
-Your Grinder
Freshly ground coffee can make a surprisingly big difference in flavor.
A burr grinder gives you a more consistent grind than many basic blade grinders, and it doesn’t have to be complicated. (this pick is considered a low-plastic exposure grind) Or you can try a manual grinder for a more intentional, COMPLETELY plastic-free grind (gold standard).
If you’re upgrading one piece of your coffee setup, this is a fun one to consider.
-Your Kettle
If you’re using a pour-over or French press, a good kettle makes the process much easier.
Look for a glass or stainless-steel option, especially one designed so the hot water itself isn’t sitting against unnecessary plastic components.
A gooseneck kettle is particularly handy for pour-over coffee because it gives you much more control over the flow of water.
-Your Mug
This may be the easiest swap of all.
Choose lead-free ceramic, porcelain, or borosilicate glass for your everyday coffee.
And let’s be honest—this is also the fun part.
Find a mug that makes you happy.
Your coffee doesn’t need to be served in a beige office mug that says “World’s Okayest Employee.“
Don’t Forget the Water
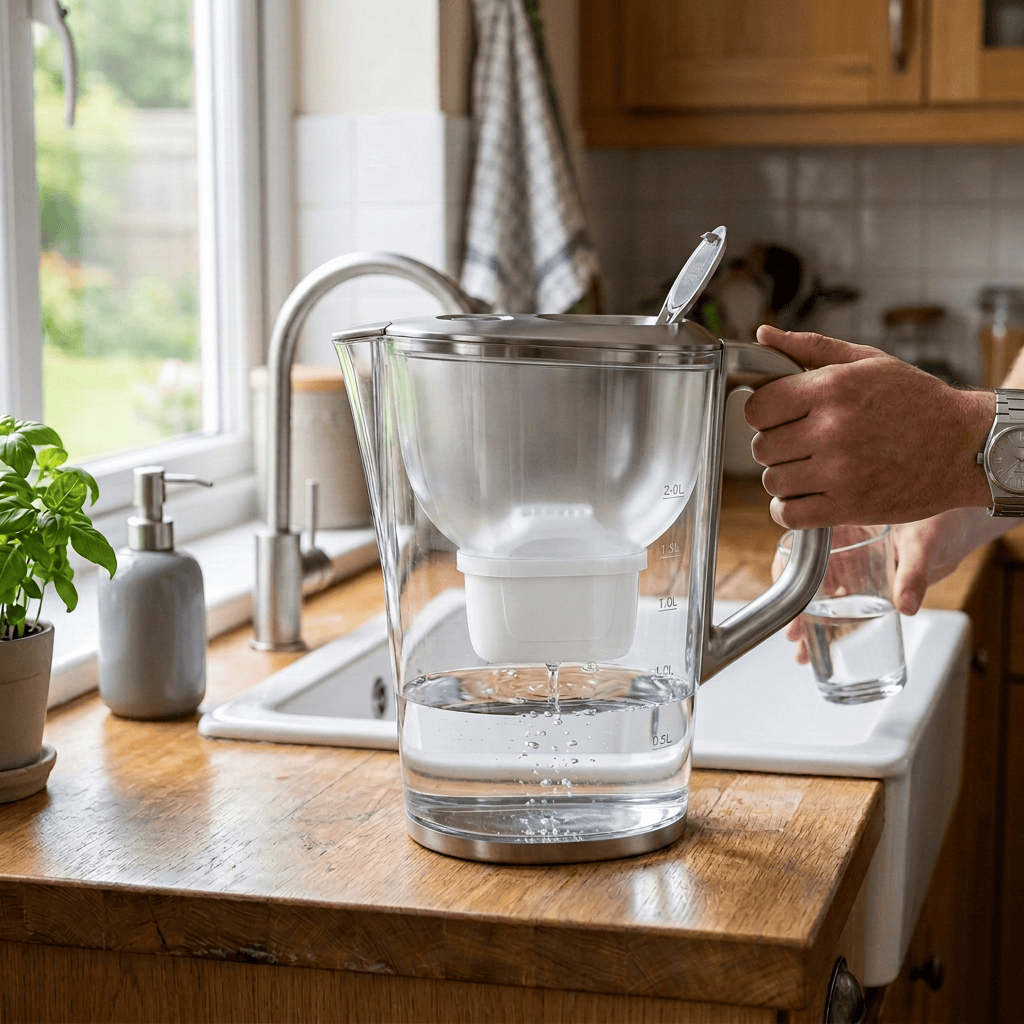
Here’s a simple thing many of us overlook:
Coffee is mostly water.
So the water you start with matters—not just for the quality of your coffee, but also because it’s the largest ingredient in the cup.
If you’re working toward a lower-tox routine, consider using filtered water rather than relying solely on unfiltered tap water.
Depending on your home’s water quality and your preferences, options include:
- A quality carbon-block pitcher
- A multi-stage filtration system
- An under-sink reverse-osmosis system
- A gravity-fed filtration system
If you use reverse osmosis, you may also want to look into remineralization drops for taste and mineral content.
And there’s a bonus:
Better water can make better coffee.
So this isn’t just about what you’re keeping out of your cup. It’s also about getting more flavor into it.
Choose Better Beans
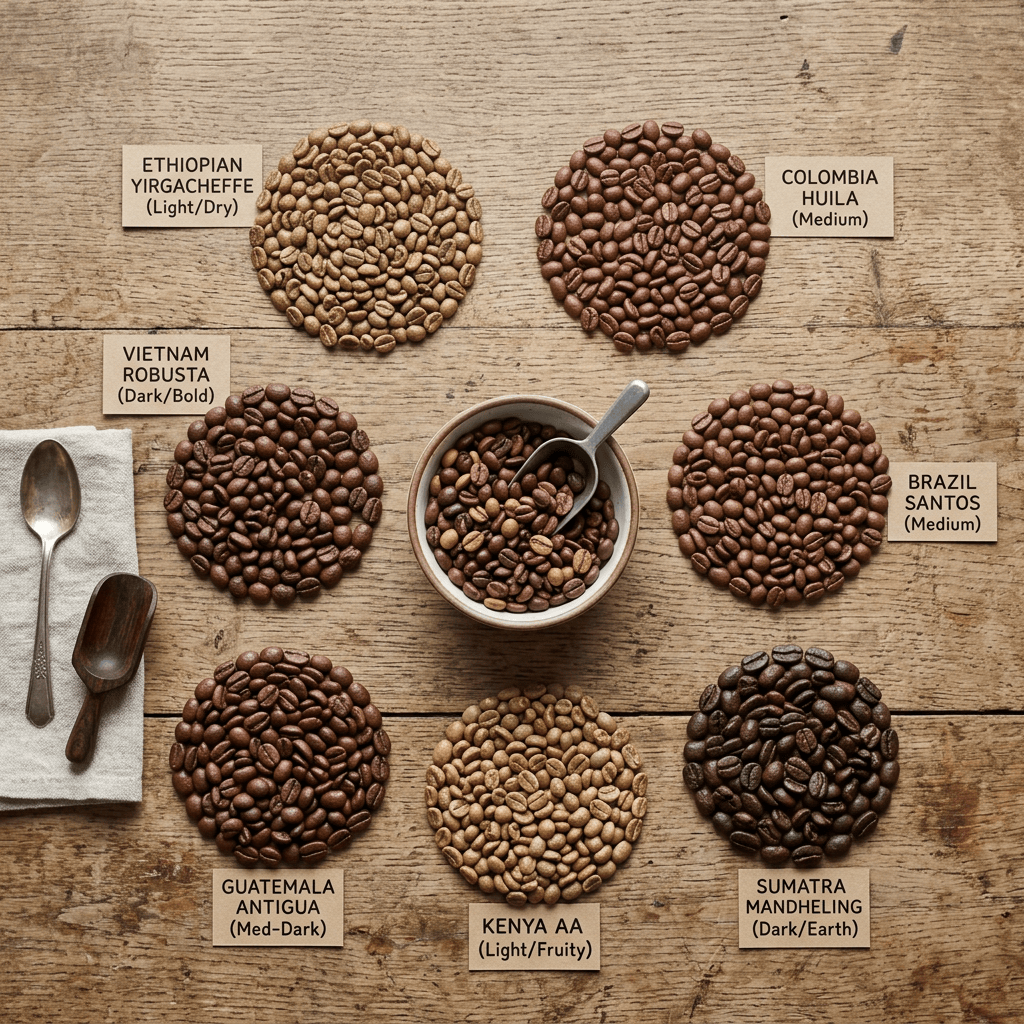
Now for arguably the most important ingredient:
The coffee.
If you’re going to put thought into your coffee equipment, don’t forget what’s actually going into the filter.
**Consider choosing organic coffee and, if this is important to you, look for brands that provide transparent information about testing for mold, yeast, and mycotoxins. (the way beans are picked, handled, and stored matters!)
Freshness matters, too.
Buy whole beans when possible and store them in an airtight, opaque container made from glass or stainless steel.
You don’t need a giant collection of coffee beans taking over your pantry.
One or two great bags that you actually love will do just fine. These are my top 3 favorites for purity, flavor, and affordability:
Four Sigmatic Gut Health Organic Ground Coffee – A clean, single-origin coffee that keeps my gut happy
Bulletproof Original Medium Roast – A clean coffee with sustainable harvest practices tthat protect fair wages, workers’ rights and the environment
Purity Coffee Mediulm Roast – Has a great taste and is easy on my stomach
And Then There Are the Add-Ins…
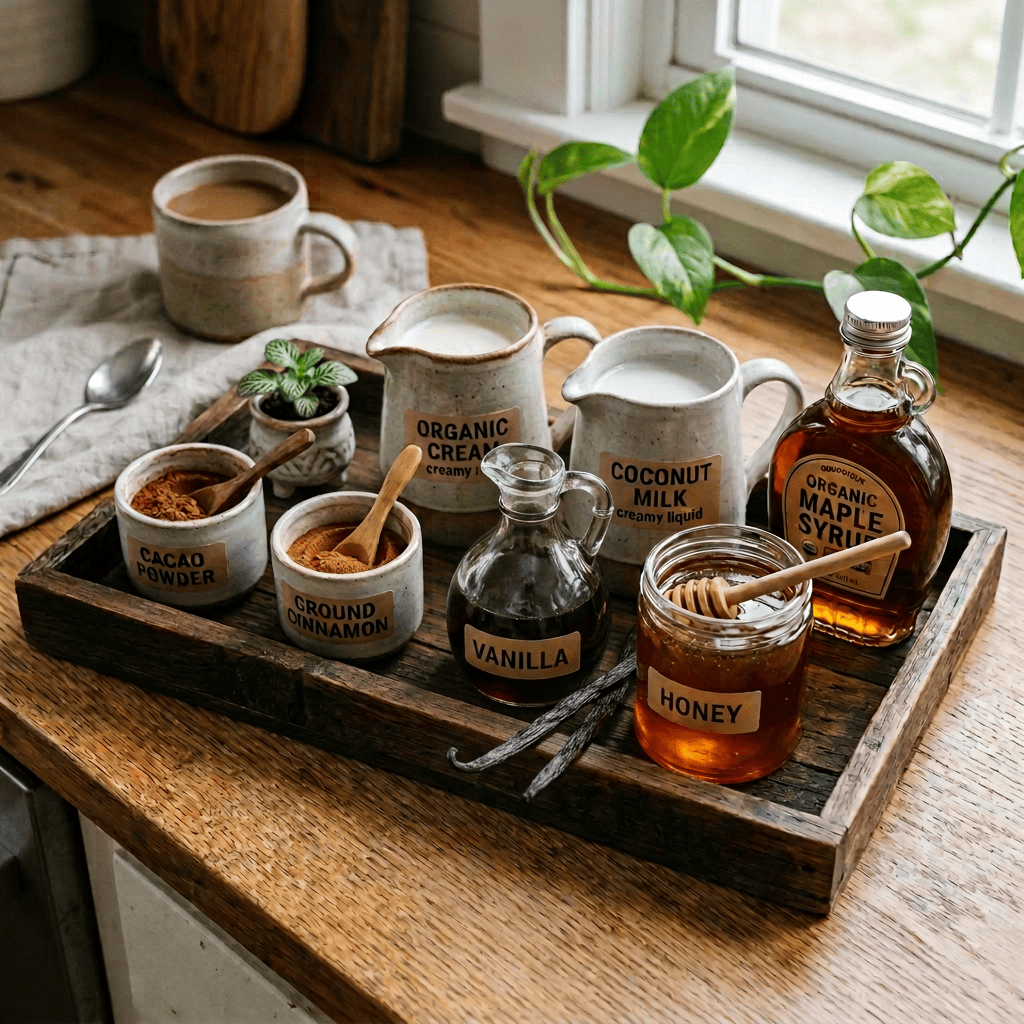
This is where coffee gets fun.
Because not everyone wants a straight black cup of coffee at 7:00 a.m.
And that’s okay.
You can create a delicious coffee without loading it up with highly processed creamers and artificial flavors. (really read the ingredients and you will probably never touch the stuff again)
Some simple add-ins to experiment with include:
- Organic cream/A2 organic milk
- Coconut milk
- Organic MCT powder
- Organic cacao (tested for heavy metals)
- Ceylon cinnamon (Ceylon for DAILY, regular use is best)
- Real, organic vanilla
- Raw organic honey
- Organic, real maple syrup
Think of your coffee as a blank canvas.
A little cinnamon can make a basic latte feel cozy.
Cacao can turn your morning coffee into a healthy, mocha-inspired treat.
Vanilla and a splash of cream can make a simple cup feel downright luxurious.
And sometimes, a drizzle of maple syrup is all you need.
**One more luxury item: A hand-held coffee frother can turn any coffee drink into an experience. Plus, it is down-right handy to mix up all your add-ins with. I love, love, love mine and use it all the time!
Coffee Drinks 101: What Are You Actually Ordering?
Okay, now for the fun part.
If you’ve ever stared at a coffee menu and thought, “I know what a latte is… I think?” you’re going to love this next section.
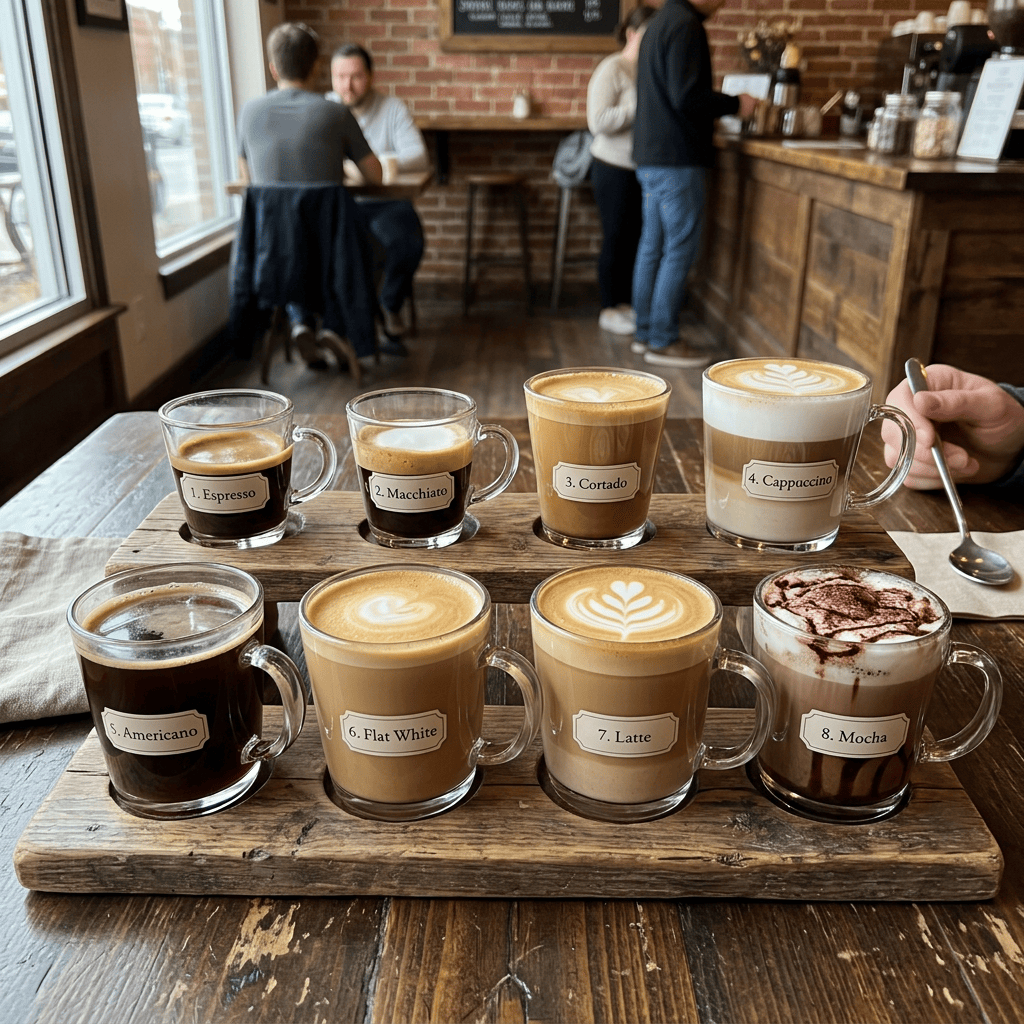
If the coffee menu at your favorite café sometimes feels like it requires a translator, you’re not alone.
Let’s simplify it.
Most espresso drinks are simply combinations of espresso + water + milk + foam, with the proportions changing from drink to drink.
Here’s your cheat sheet:
*Espresso
The concentrated little powerhouse of the coffee world.
An espresso is typically served as a single or double shot and has a rich, intense flavor with a layer of crema on top.
Want it strong and simple? This is your drink.
*Americano
Espresso + hot water.
It’s a great option if you love the flavor of espresso but want a larger, lighter drink.
Think: espresso meets traditional coffee.
*Macchiato
Espresso with just a small amount of steamed milk or foam.
It’s bold, simple, and definitely coffee-forward.
Think: espresso with a tiny splash of softness.
*Cortado
Equal parts espresso and warm steamed milk.
The milk takes the edge off the espresso without turning it into a giant milky drink.
Think: balanced, smooth, and not too sweet.
*Cappuccino
Espresso + steamed milk + a generous amount of airy foam.
This is the fluffy one.
Think: light, creamy, and foamy.
*Latte
Espresso + lots of steamed milk + a thin layer of foam.
If you like your coffee creamy and smooth, the latte is probably your friend.
And this is where you can have some fun with cinnamon, vanilla, cacao, or a little maple syrup.
*Flat White
Espresso with silky microfoam and less foam than a traditional cappuccino.
It’s creamy but still has a stronger coffee flavor than a typical latte.
Think: latte’s slightly more coffee-forward cousin.
*Mocha
Espresso + chocolate + steamed milk.
Basically, coffee and chocolate decided they were better together.
Use cacao or your preferred chocolate ingredient to create a more intentional, healthy version at home.
Not in the Mood for Espresso?
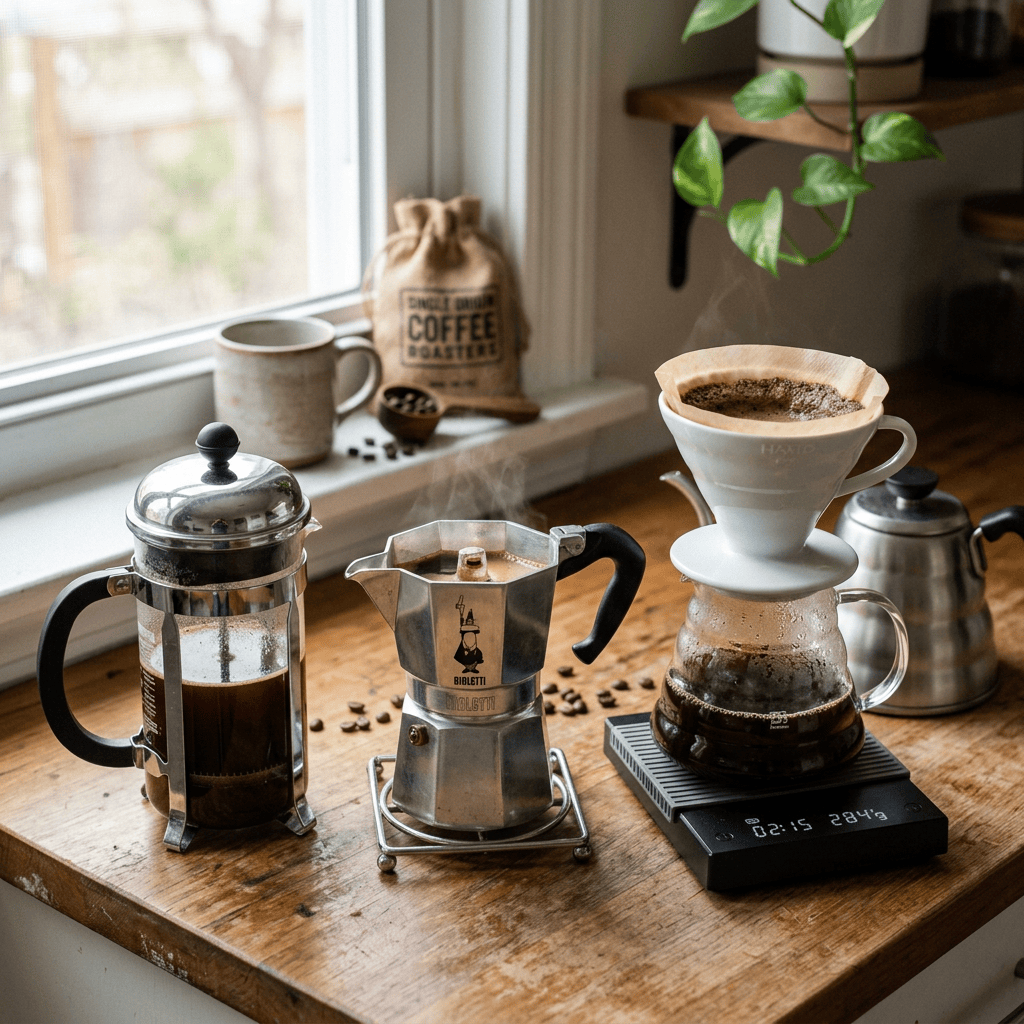
No problem.
There are plenty of delicious ways to make coffee without an espresso machine.
*Drip Coffee
The classic.
Hot water passes through coffee grounds and a filter, producing the familiar everyday cup of coffee.
Simple. Reliable. No coffee degree required.
*Pour-Over
This is where coffee gets a little more hands-on.
You slowly pour hot water over your grounds, allowing the water to extract the coffee as it passes through the filter.
A Chemex or Hario V60 can make a beautifully clear, bright cup.
And yes, it can feel fancy.
But once you get the hang of it, it’s actually very simple.
*French Press
Add coarse coffee grounds, add hot water, let it steep, and press.
That’s basically it.
French press coffee tends to be richer and more full-bodied because the grounds steep directly in the water.
It’s also one of the easiest low-tech brewing methods to master.
*Moka Pot
A Moka pot uses pressure from heated water to brew a concentrated, rich coffee.
It’s not technically espresso, but it gives you that bold, syrupy coffee experience without needing an espresso machine.
Plus, it looks adorable sitting on the stove.
And Then There’s Cold Coffee
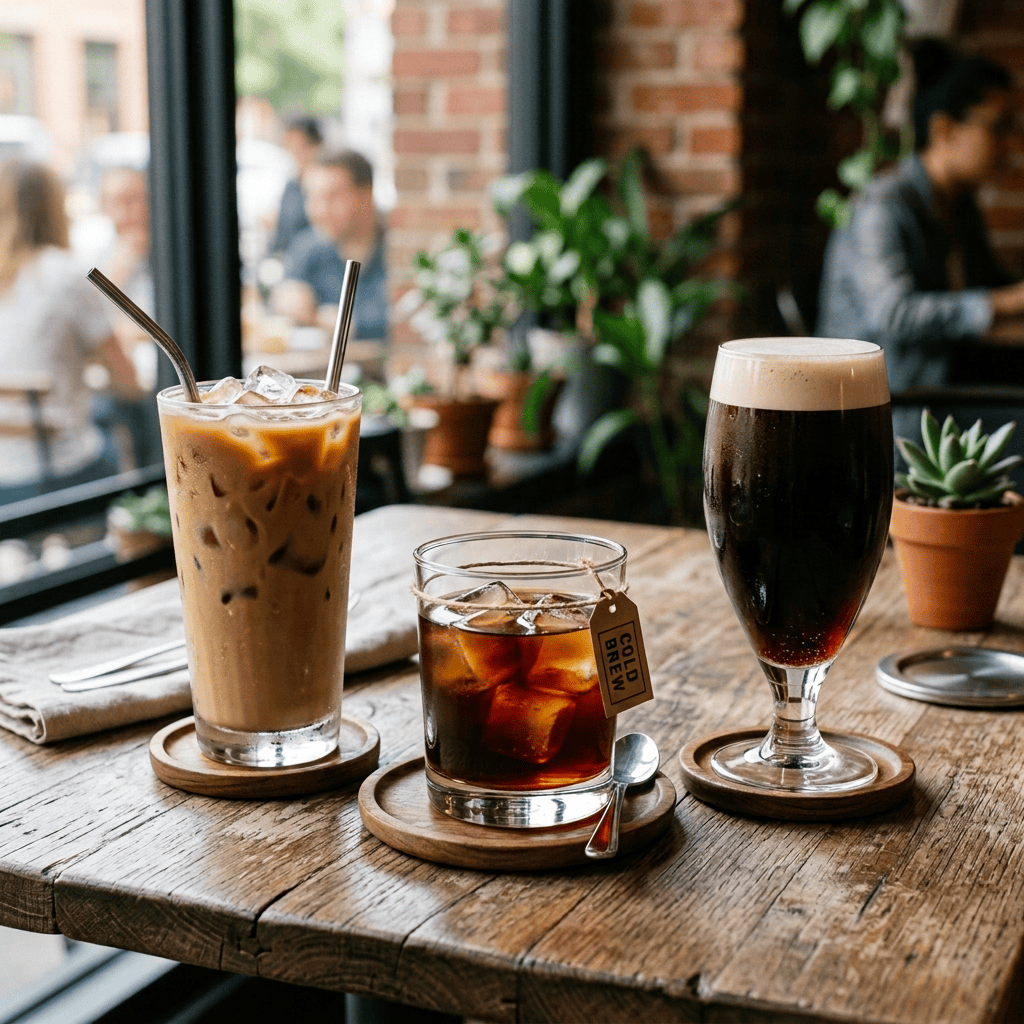
Because sometimes it’s August and the last thing you want is a steaming mug of coffee.
*Iced Coffee
This is simply hot-brewed coffee served chilled over ice.
Easy, refreshing, and perfect for leftover morning coffee.
*Cold Brew
Cold brew is made by steeping coffee grounds in cool or room-temperature water for an extended period, often 12–24 hours.
The result is smooth, mellow, and naturally sweet-tasting.
Make a batch ahead of time and keep it in the refrigerator for an easy grab-and-go coffee.
*Nitro Cold Brew
Take cold brew and infuse it with nitrogen.
The result is a creamy, velvety texture with a foamy top.
It looks fancy.
It tastes fancy.
But the basic idea is surprisingly simple.
The Secret Ingredient Nobody Talks About: Cleanliness
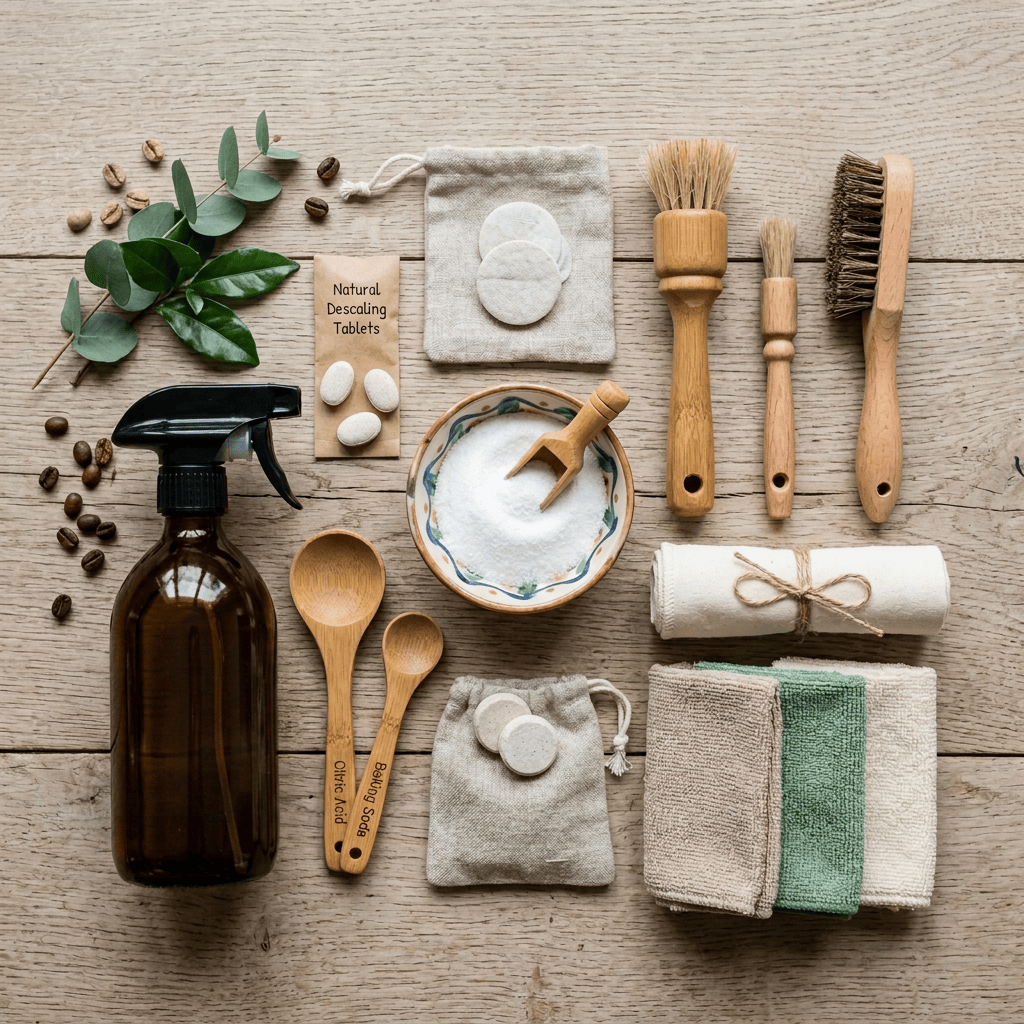
Here’s the glamorous part of owning a coffee station:
Cleaning it.
I know. Exciting.
But this is one area where simple equipment has a major advantage.
Manual brewing methods such as French presses and pour-over brewers can be taken apart, washed, and thoroughly dried.
Automatic coffee machines can have internal reservoirs and tubing that are harder to access, so following the manufacturer’s cleaning and descaling recommendations is important.
For machines with internal water tanks, make regular cleaning part of your routine rather than waiting until your coffee starts tasting suspiciously like yesterday’s coffee. (think mold source-yuck!)
A clean coffee maker simply makes better coffee.
And your future self will thank you.
You Don’t Have to Do It All
This is probably the most important takeaway.
You don’t need to wake up tomorrow and throw away every appliance in your kitchen.
Start small.
Maybe your first swap is your coffee mug.
Then your water.
Then your beans.
Then, when it’s time to replace your coffee maker anyway, choose a machine that better fits your low-tox priorities.
Little changes add up.
And honestly, I think that’s what makes this approach sustainable.
The goal isn’t perfection. It’s creating a morning routine that feels good, tastes good, and works for your life.
My Simple Low-Tox Coffee Station Formula
If you want to keep it really simple, start here:
1. Choose a brewing method you will actually use.
2. Minimize unnecessary plastic contact with hot water and coffee.
3. Use filtered water.
4. Choose quality coffee beans that fit your preferences and priorities.
5. Store your beans properly.
6. Use simple, intentional ingredients for your creamers and sweeteners.
7. Choose glass, ceramic, or stainless steel for the things touching your coffee.
8. Keep your equipment clean and dry.
9. Make your coffee station beautiful enough that you actually want to use it.
That’s it.
No complicated morning routine.
No need to become a coffee snob.
Just a few thoughtful swaps that can turn an ordinary corner of your kitchen into a coffee station you genuinely look forward to using.
Build Your Coffee Corner Your Way
Whether you’re a straight-black-coffee person, a daily latte lover, a French press fan, or someone who considers iced coffee a year-round food group, there’s a low-tox approach that can work for you.
And that’s the fun part.
You get to build a coffee routine around your preferences.
Start with one swap.
Choose one product you love.
Make one small improvement.
Then enjoy your coffee.
Because a healthier home doesn’t have to feel restrictive.
Sometimes it can look like a beautiful little coffee station, a favorite mug, fresh beans, and five quiet minutes before the day gets started.
And honestly?
I’ll drink to that.