Thanksgiving is more than just a meal; it is a dedicated moment to pause, reflect, and gather with the people who matter most. In a fast-paced world, the holiday table becomes a sanctuary for connection, tradition, and shared joy.
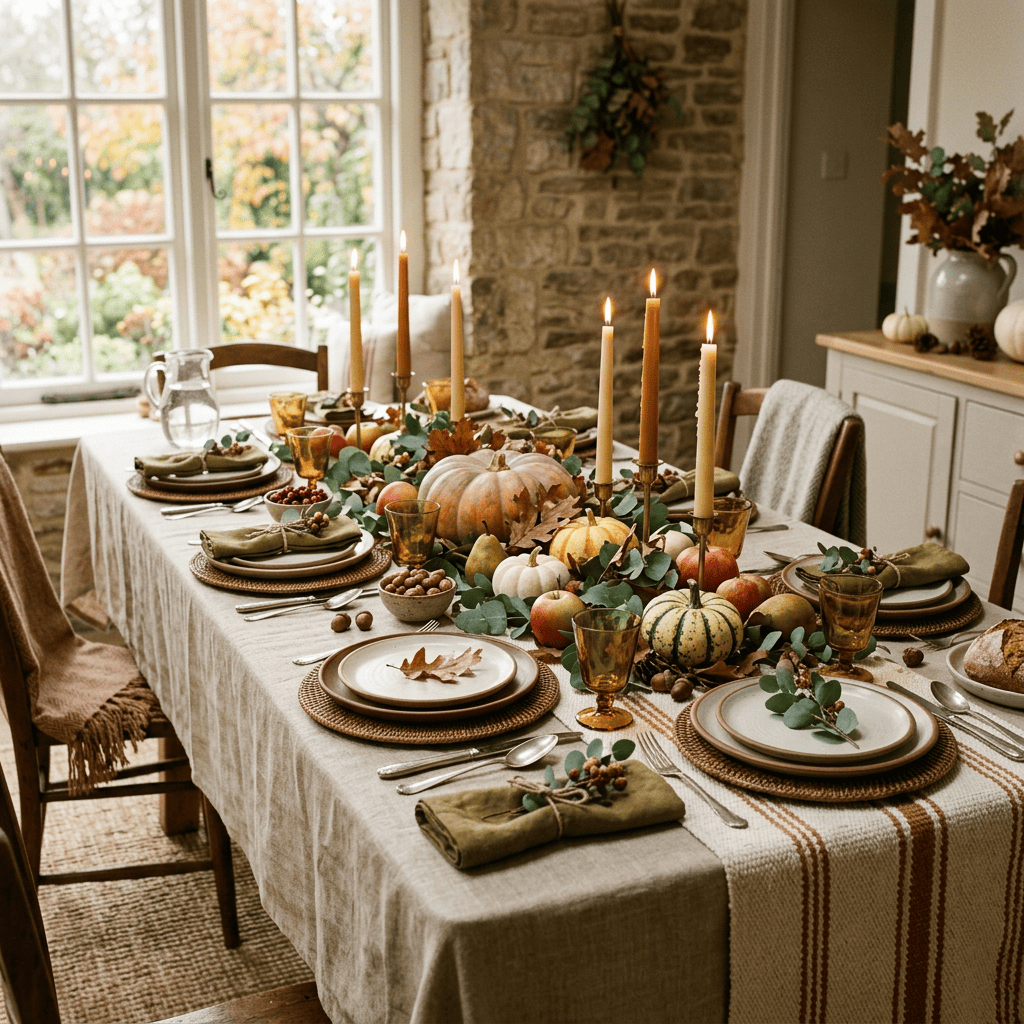
Creating the perfect tablescape is not about flawless perfection or expensive crystal. It is about intentionally blending beauty, health, and functionality while fostering an environment of gratitude and fun. By choosing mindfully crafted, sustainable decor and focusing on your family’s well-being, you can set a table that nourishes both the body and the soul.
Here are five simple steps to setting a healthy, beautiful, and heart-centered Thanksgiving table.
Keep reading–Don’t miss out on the bonus section below: Healthier Fruit and Vegetable Side Dish Recipes
**Readers also like reading these related posts: “8 Cozy Family Fall Traditions to Start This Autumn Season” and “The Perfect Fall Reset: 6 Ways to Gently Transition Into Autumn Without Feeling Overwhelmed”
1. Start with a Healthy Foundation
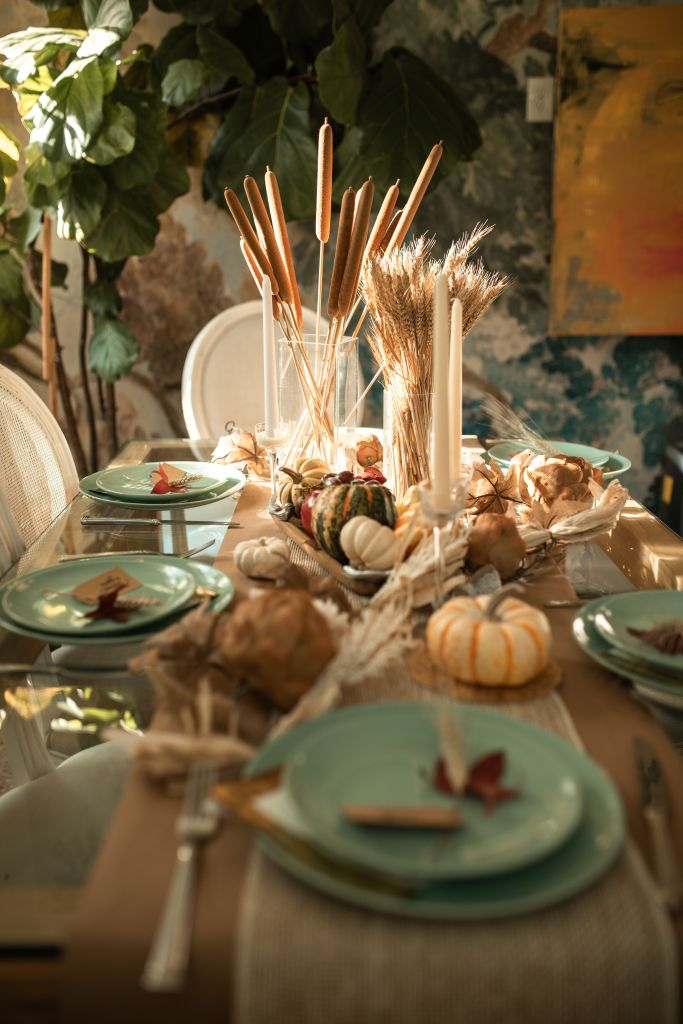
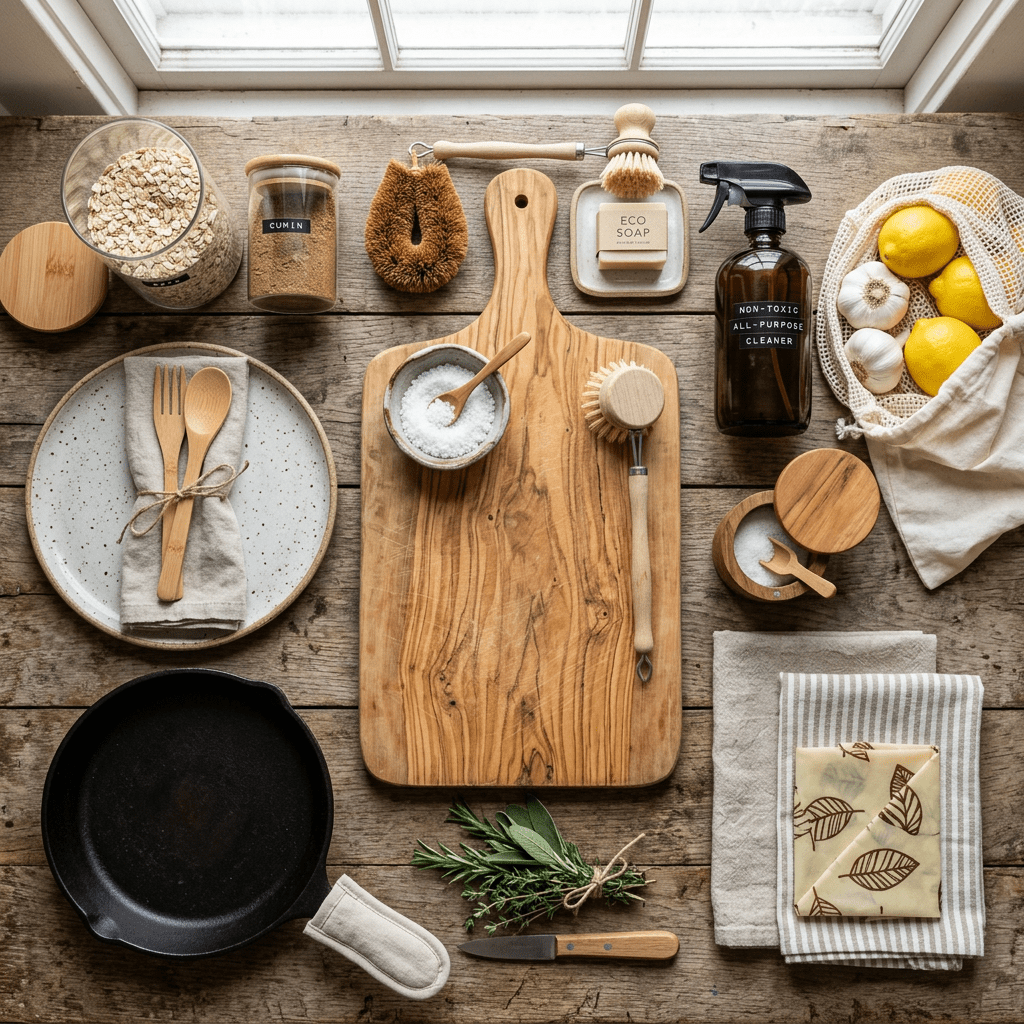
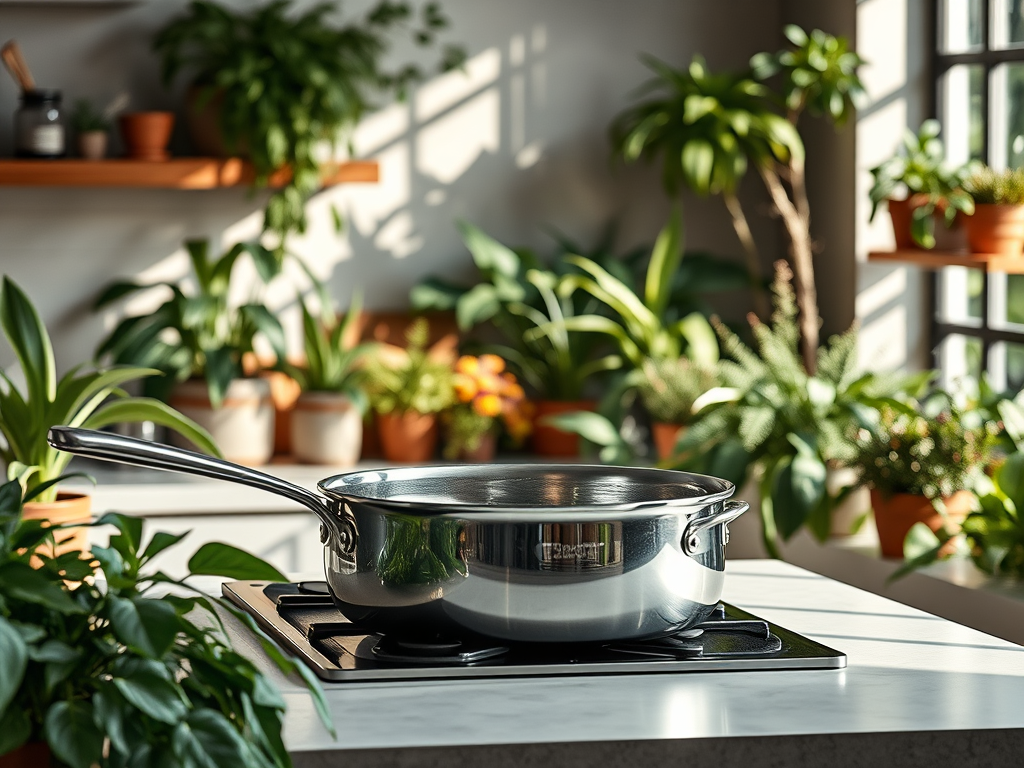
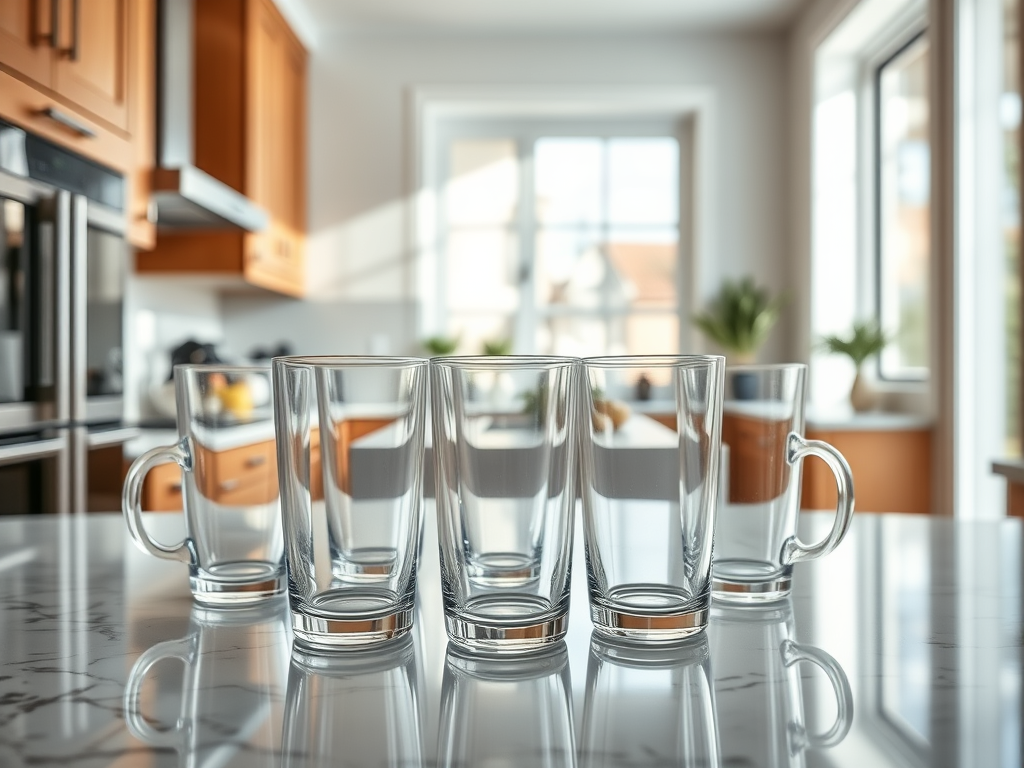
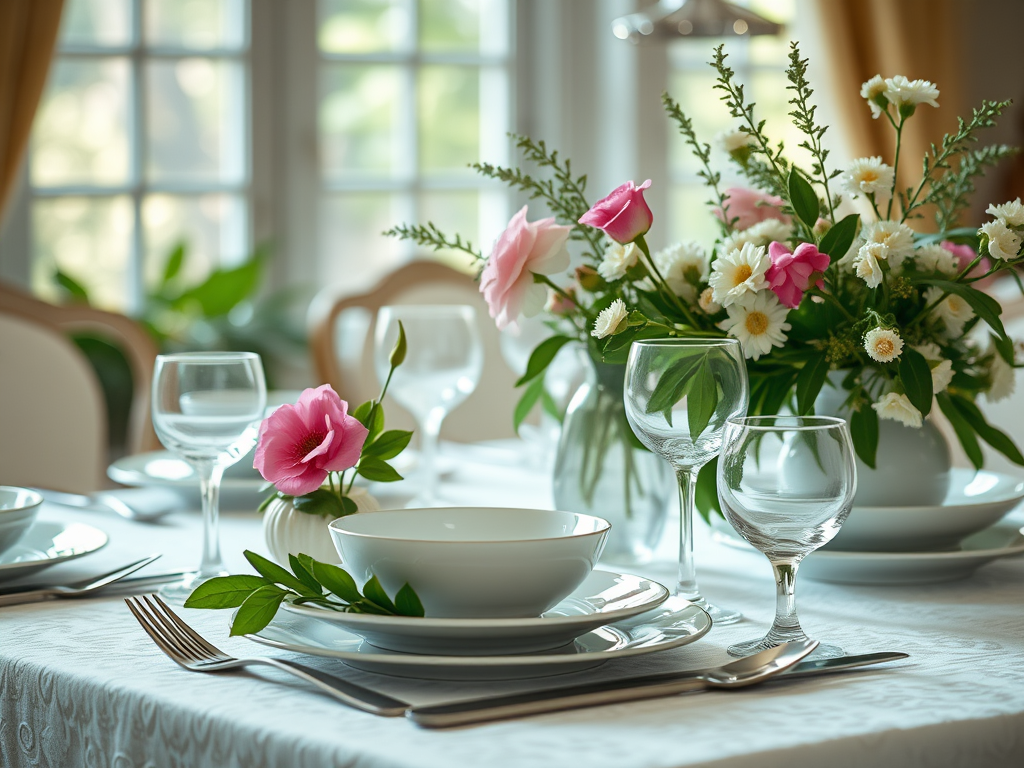
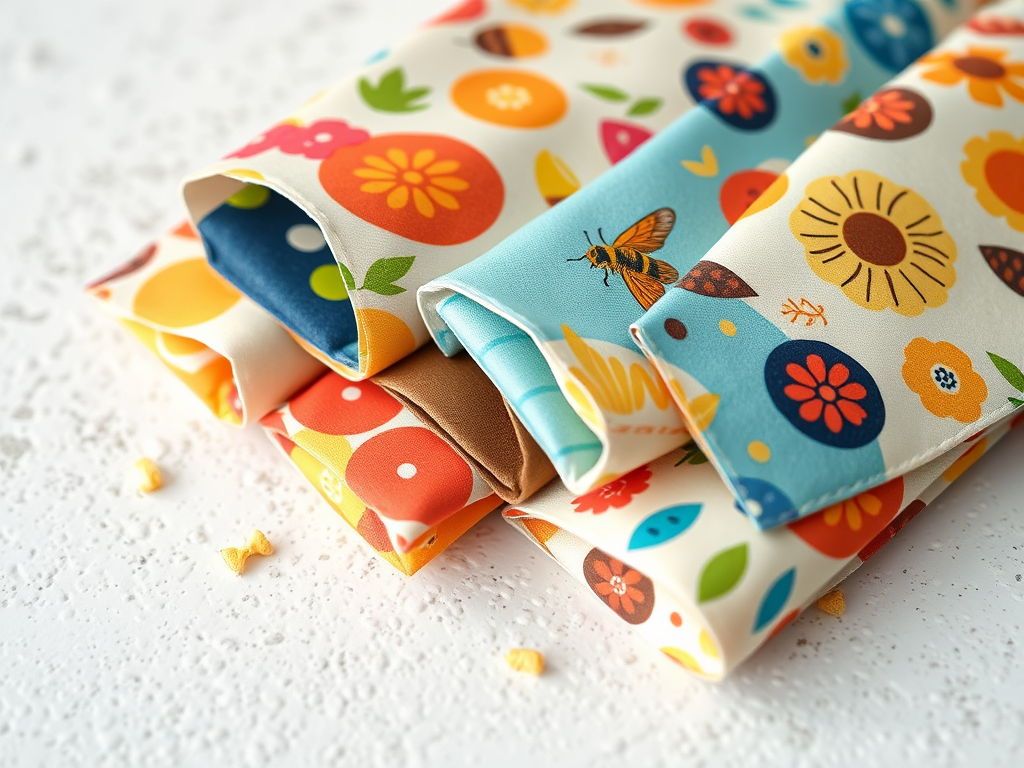
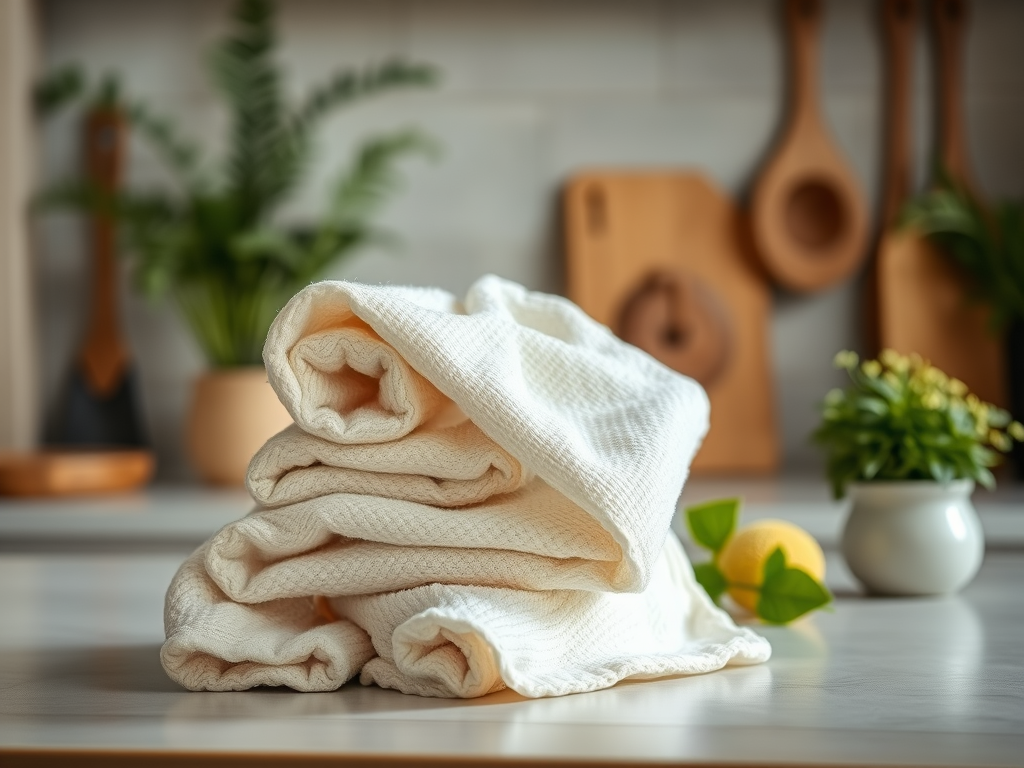
A beautiful table begins with what you place closest to your food and your family. Opt for lead free ceramic dishes, borosilicate glass drinkware, and natural fabric sustainable linens to create a warm and inviting base. Look for unbleached organic cotton, raw linen, or hemp tablecloths and napkins. These materials are free from harsh chemical treatments, biodegrade naturally, and offer a rich, tactile texture that elevates the room.
To add warmth and depth, layer your foundation with a reclaimed wood table runner or hand-woven seagrass placemats. Embracing natural textures brings a grounding, earthy energy into your dining room, setting a calm tone for the afternoon ahead.
My favorite Fall Tablescape Decor Storefront Here
*Disclosure: As an Amazon Associate, I earn from qualifying purchases. This means that if you click on a link and make a purchase, I may receive a small commission at no additional cost to you. I only recommend products I genuinely love, use, or believe will add value to your home and wellness journey. Thank you for supporting my work!
2. Design for Function and Flow
A table can only be beautiful if it is comfortable to sit at. When planning your layout, prioritize the comfort of your guests and the flow of the meal.
- Keep centerpieces low: Ensure all floral arrangements and decor elements sit below eye level—generally under 12 inches tall. This allows conversation to flow across the table without guests straining to see one another through forest-like table greenery.
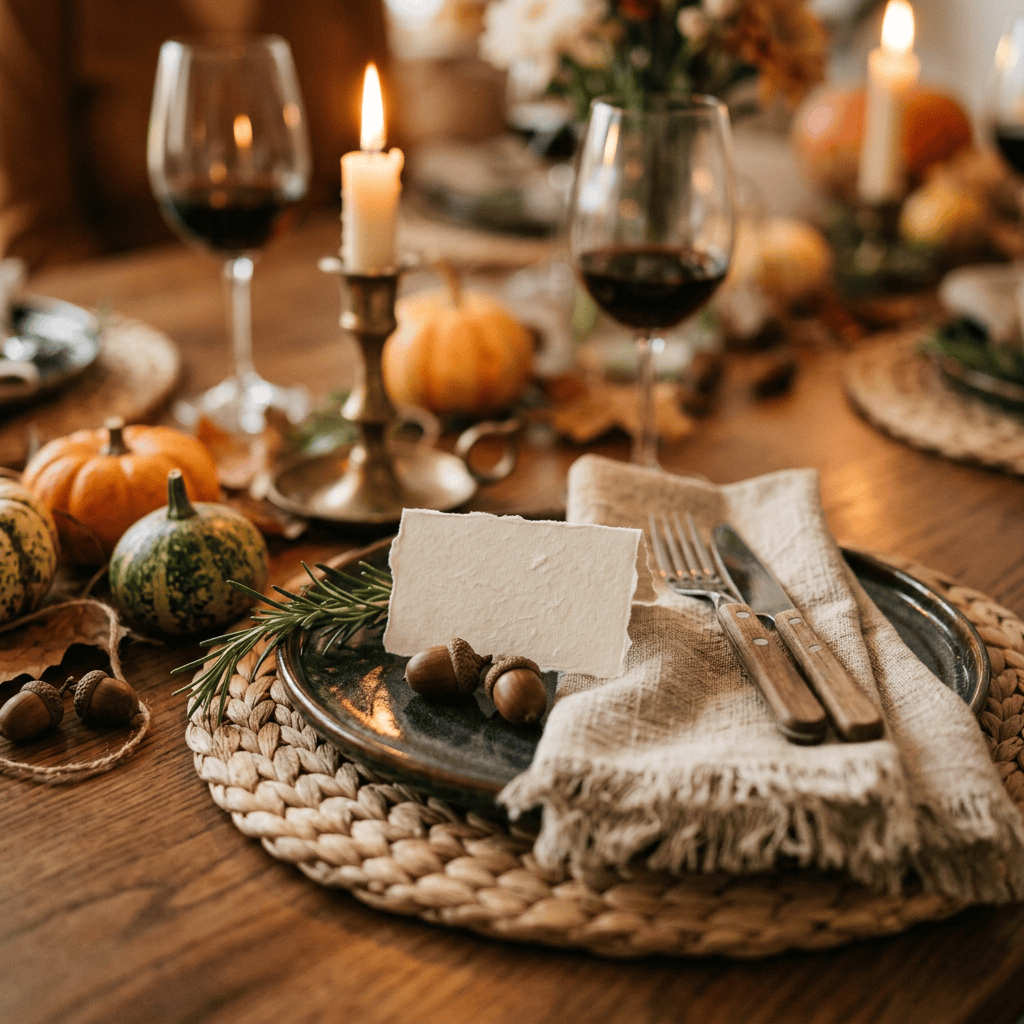
- Ditch the Plastic Rings: Fold your natural linen napkins loosely and tie them with a piece of biodegradable jute twine. Tuck a small sprig of fresh rosemary or a single dried flower into the twine for a beautiful, organic touch.
- Embrace Imperfection: Do not worry if your heirloom plates do not match perfectly. Mixing and matching complementary, earthy ceramic textures creates a warm, “collected-over-time” feel that makes a home feel incredibly inviting.
- Leave breathing room: Give each place setting enough space (as best as you can) so guests do not feel crowded while eating.
- No assigned seating: Avoid conflicts by allowing your guests to naturally flow to a seat location. Instead of having a “kids table,” I try my best to make sure everyone is included at the main table. (even if the table expands into the living room) This ensures no one feels isolated or left out.
- Create a beverage station: To keep the main table organized and clutter-free, set up a separate side table or bar cart for water pitchers, wine, and clean glasses. This makes it easy for guests to help themselves without disrupting the main dining space.
Step-by-Step Anatomy of a Place Setting
- The Center: Place the Dinner Plate directly in front of the chair, about one inch from the edge of the table. If you are serving a salad course first, center the smaller Salad Plate right on top of the dinner plate.
- The Left Side (Forks): Place the Dinner Fork to the immediate left of the plate. If you are serving a first-course salad, place the Salad Fork to the left of the dinner fork (on the far outside).
- The Right Side (Knife & Spoon): Place the Dinner Knife to the immediate right of the plate. Crucial detail: The cutting edge of the blade must always face toward the plate. Place the Soup/Dinner Spoon to the right of the knife.
- The Napkin: Traditionally, the napkin goes to the far left, underneath the forks. However, for a more modern, styled family table, folding it into a neat rectangle and placing it directly on top of the empty plates looks beautiful and saves valuable table space.
- The Top Right (Glasses): Place the Water Glass just above the dinner knife. If you are serving wine or cider, place that glass slightly to the right and below the water glass.
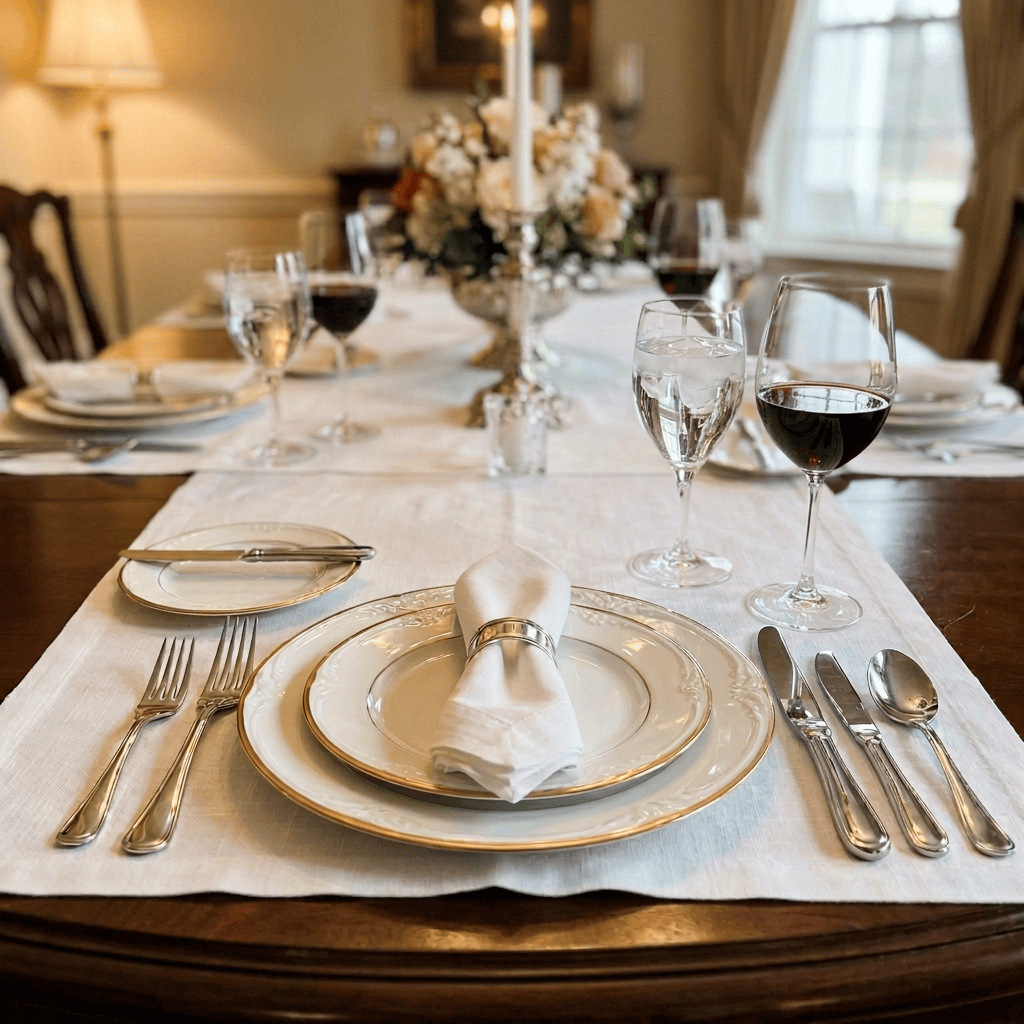
3. Bring the Outdoors In
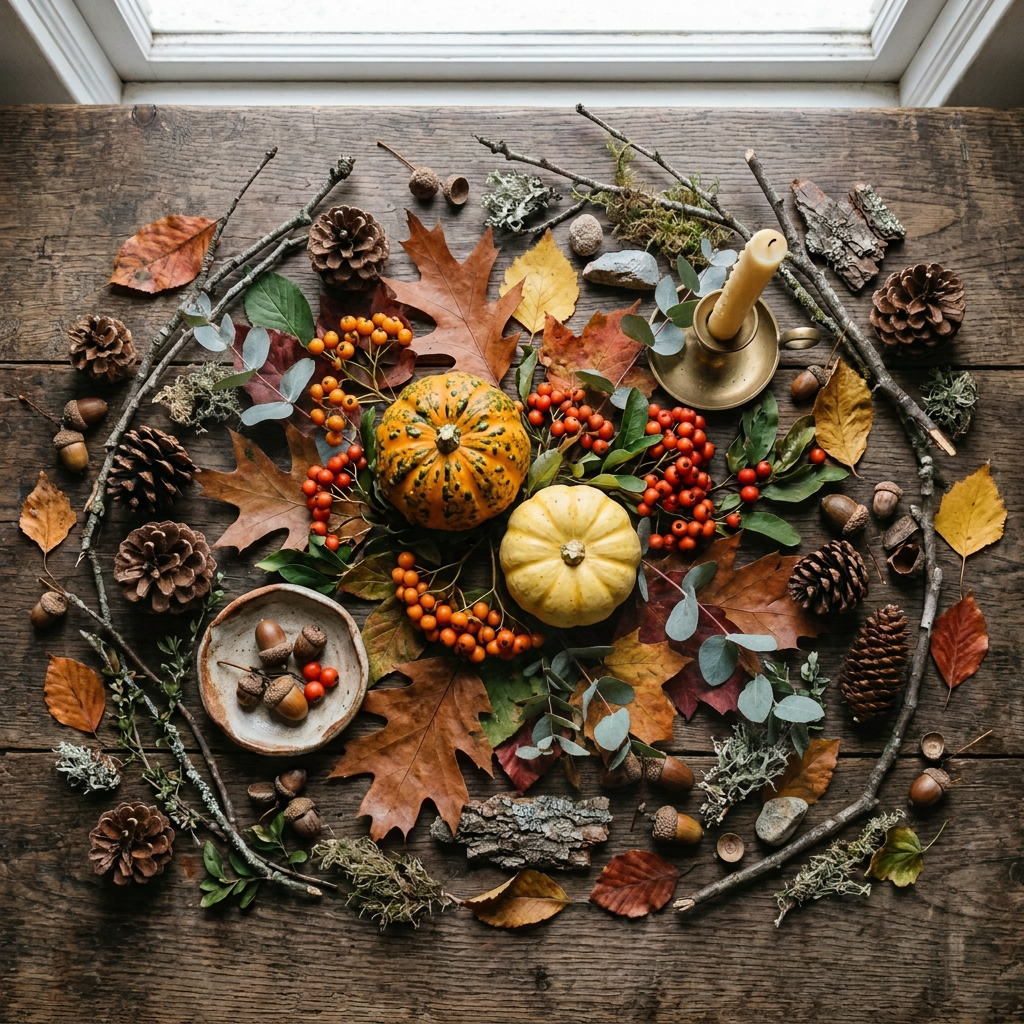
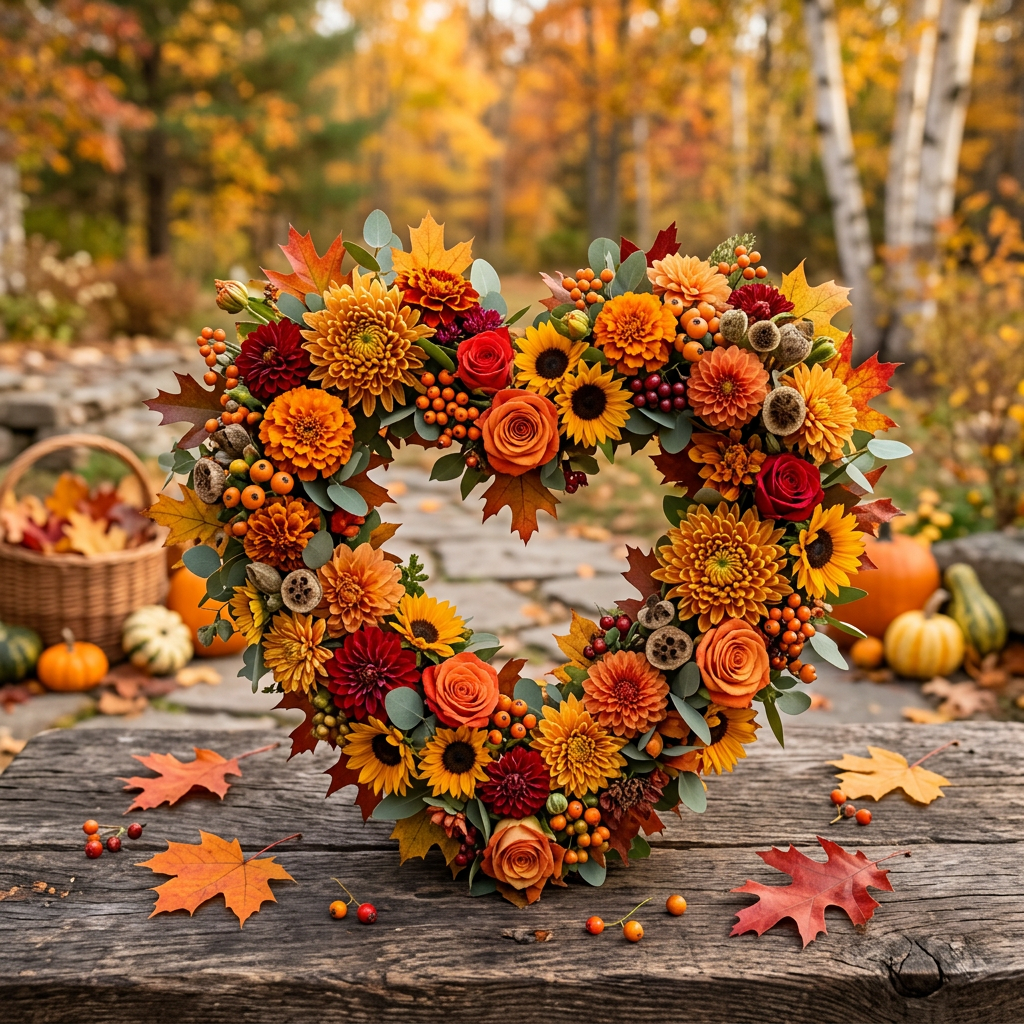
Celebrate the abundance of the season by using live, organic decor. Foraging for your centerpiece is a wonderful, grounding tradition that connects your home to the rhythm of nature.
Take a walk through your backyard or local market to gather vibrant elements:
- Branches of eucalyptus, rosemary, or olive leaves for a fragrant, air-purifying runner.
- Heirloom pumpkins, gourds, and squash in muted whites, greens, and soft oranges.
- Bowls of crisp apples, pomegranates, and unshelled walnuts to add color and life.
- Pinecones, or dried grasses
For lighting, skip synthetic scented candles, which can release toxins into the air and compete with the delicious aromas of your meal. Instead, opt for 100% beeswax or soy taper candles. They cast a warm, golden glow, clean the air naturally, and create a cozy, intimate ambiance.
My favorite Fall Tablescape Decor Storefront Here
4. Weave in Tradition and Gratitude
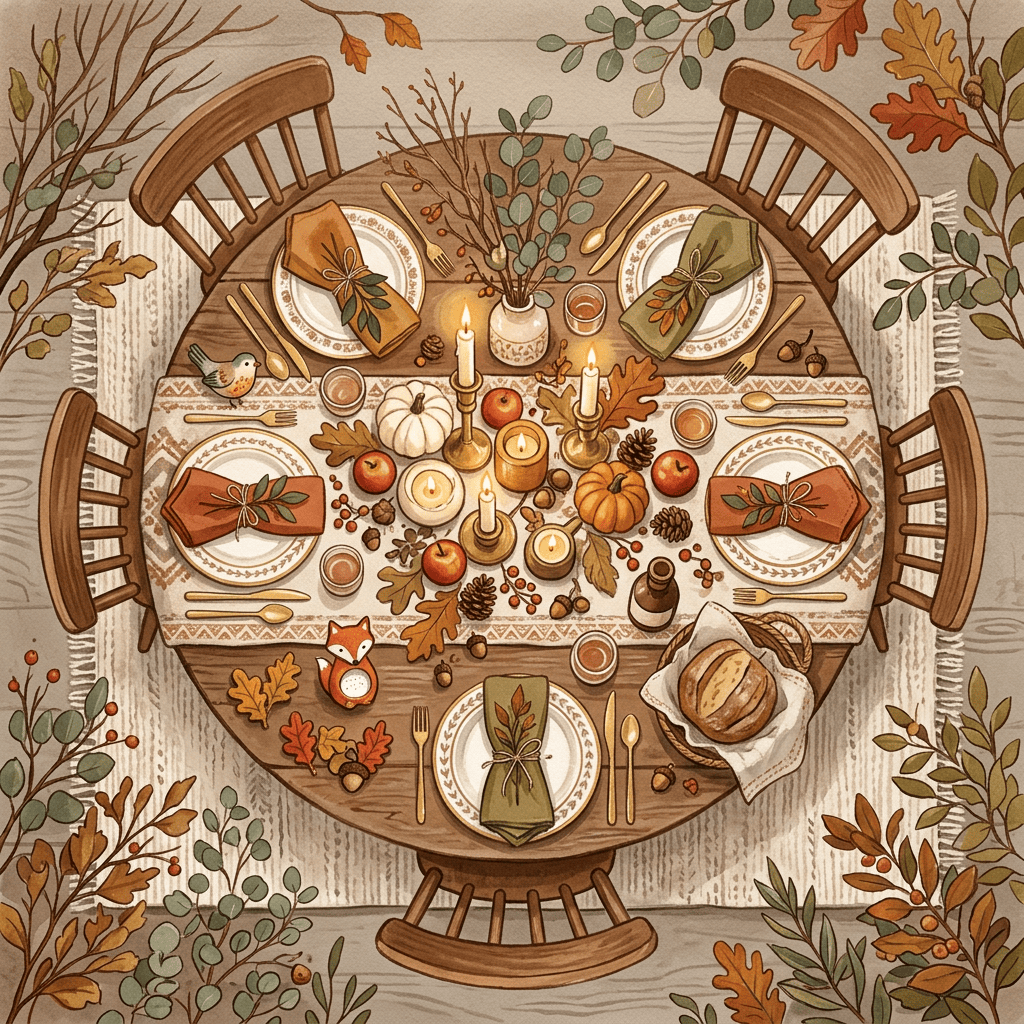
The items on your table should tell a story. Incorporating family heirlooms—like your grandmother’s vintage glassware, a hand-carved serving bowl, or mismatched antique silverware—adds layers of meaning and sparks nostalgic storytelling across generations.
To cultivate a true spirit of gratitude, build interactive prompts into your place settings. Place a small piece of recycled paper and a wooden pencil at each seat, asking guests to write down three things they are grateful for this year. Before dessert, pass a basket around to collect the notes, and take turns reading them aloud. This simple practice shifts the focus of the day from commercialism to deep, heartfelt appreciation.
5. Add a Touch of Family Fun
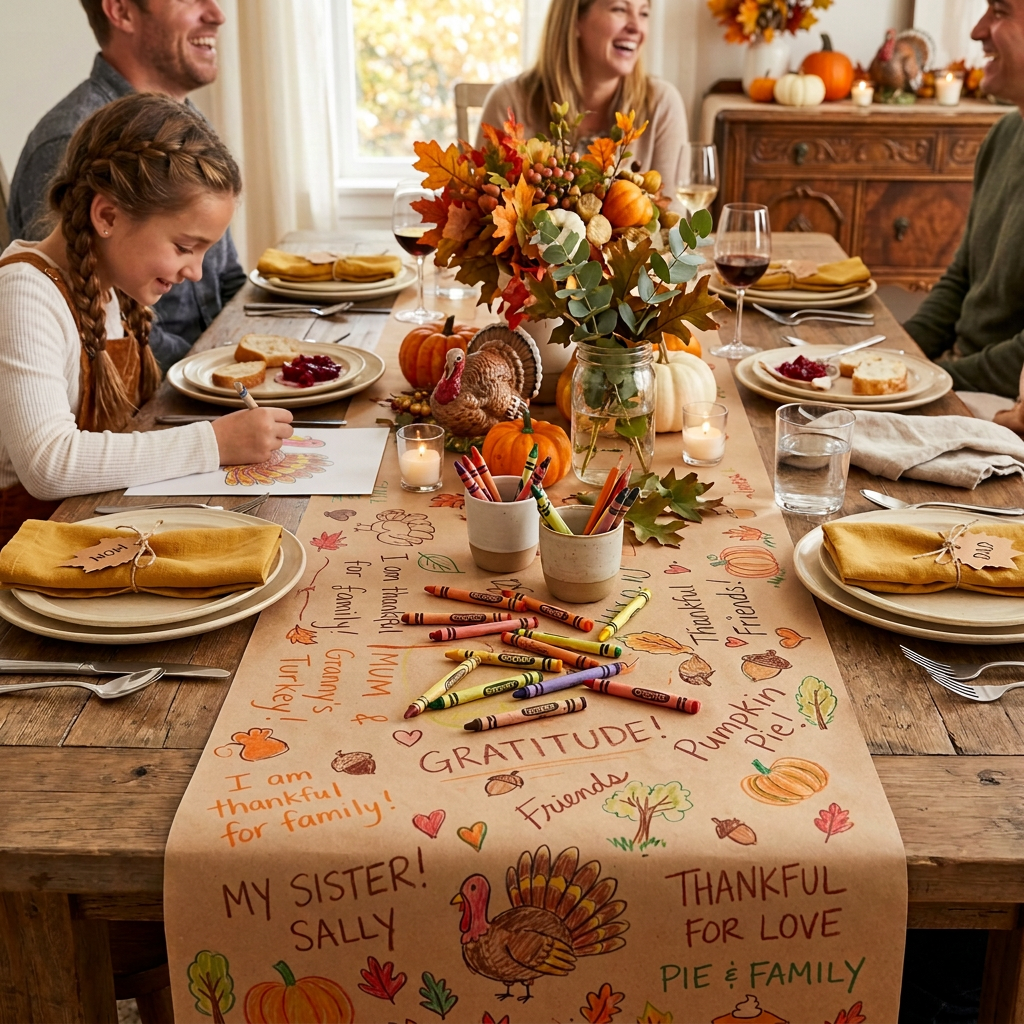
While Thanksgiving honors deep traditions, it should also be filled with laughter and play. Keeping the atmosphere light ensures that children and adults alike feel relaxed and connected.
Consider adding these fun, interactive elements to your table:
- Custom butcher paper runner: Cover the children’s section of the table (or the entire table) in brown butcher paper. Scatter bowls of non-toxic soy crayons and challenge everyone to draw what they are thankful for directly onto the table.
- Table conversation starters: Place a unique question card under each dinner plate. Questions like, “What is your favorite family memory from this year?” or “If you could travel back to any Thanksgiving in history, which one would it be?” ensure that everyone gets a chance to share and laugh together.
- The “Gratitude Roll” Dice Game: Place a set of dice in the center of the table. A guest rolls a single die. The number they land on corresponds to a prompt on a small chalkboard nearby (e.g., 1 = Name a person you’re thankful for, 2 = Name a place they love, 3 = Name a favorite memory, 4 = Name something they learned this year, 5 = Name something that makes them smile, 6 = Name something they want to do again). It keeps the conversation flowing dynamically between courses and turns sharing into a lighthearted game.
- The “How Many” Guessing Jar: Fill a glass mason jar with a festive, bulk-bought item like dried corn kernels, acorns, whole cranberries, or pecans, and place it on the table. Leave a stack of scrap paper nearby for guests to slip in their name and their best guess of the exact count. Announce the winner during dessert, and the prize can be a small reward—like getting to pack the first container of leftovers or choosing the family board game for later that night.
- The Festive Photo Challenge Card: To gently keep everyone off social media while still capturing memories, place a small, printable card at each setting with a “Holiday Photo Scavenger Hunt.” Give prompts like: “Take a photo of the oldest and youngest person laughing together,” or “Snap a picture of the messy kitchen prep.” This turns memory-catching into an active, fun challenge that focuses entirely on real-time family connection. Everyone shares the photos with each other later!
**Bonus: Healthier Fruit and Vegetable Side Dish Recipes
- Stuffed Honeynut Squash with Wild Rice, Cranberries, and Pecans
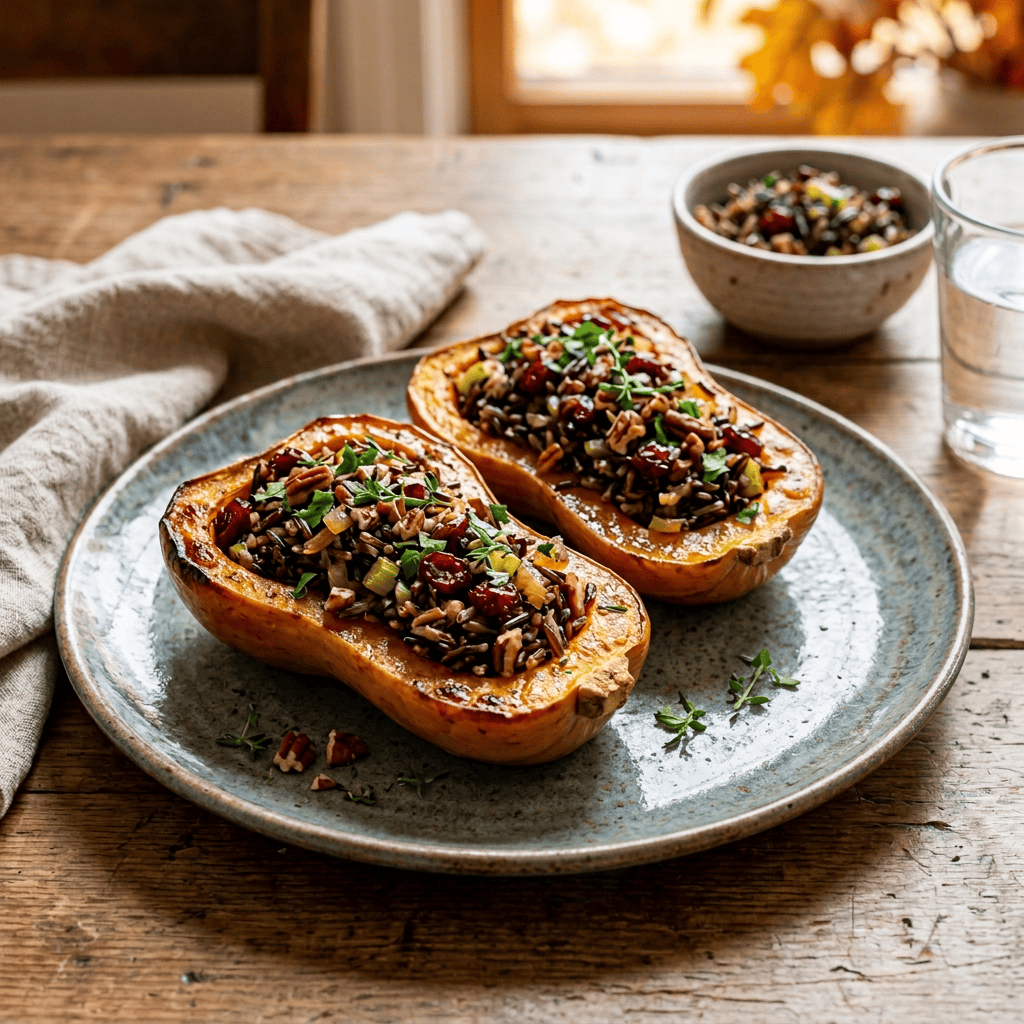
Honeynut squash looks like a mini butternut squash but features a sweeter, richer flavor and a skin so tender you can eat it. This dish makes a stunning, colorful centerpiece for each plate.
- The Base: Honeynut or small acorn squash, halved and roasted with a touch of olive oil, pure maple syrup, and a pinch of sea salt.
- The Filling: A hearty blend of chewy wild rice, sautéed shallots, and celery.
- The Flavor Boost: Stir in tart dried cranberries, toasted pecans for crunch, and fresh sage and thyme.
- Why it’s healthy: It is packed with complex carbohydrates, healthy fats, and fiber to keep blood sugar stable throughout the long feast.
Prep time: 20 mins | Cook time: 45 mins | Servings: 4
- Prep the Squash: Preheat your oven to 400°F (200°C). Halve 4 honeynut (or small acorn) squashes lengthwise and scoop out the seeds. Brush the flesh lightly with olive oil, drizzle with a tiny bit of pure maple syrup, and season with salt and pepper. Place them cut-side down on a parchment-lined baking sheet. Bake for 30–35 minutes until tender when pierced with a fork.
- Cook the Grain: While the squash roasts, rinse 1 cup of wild rice. Bring it to a boil in 3 cups of low-sodium vegetable broth, then cover, lower the heat, and simmer for 40–45 minutes until the grains burst and are tender. Drain any excess liquid.
- Make the Filling: Heat 1 tbsp olive oil in a skillet over medium heat. Sauté 1 diced shallot and 2 finely chopped celery stalks for 5 minutes until soft. Stir in 1 tbsp minced fresh sage and 1 tbsp fresh thyme leaves, cooking for 1 more minute.
- Combine: Toss the cooked wild rice, sautéed vegetables, ½ cup dried cranberries, and ½ cup toasted, chopped pecans together in a large bowl.
- Stuff and Serve: Flip the roasted squashes cut-side up. Mound a generous amount of the wild rice mixture into each squash cavity. Pop them back into the oven for 5–10 minutes to warm everything through before serving.
2. Garlic & Herb Smashed Cauliflower and Red Potatoes
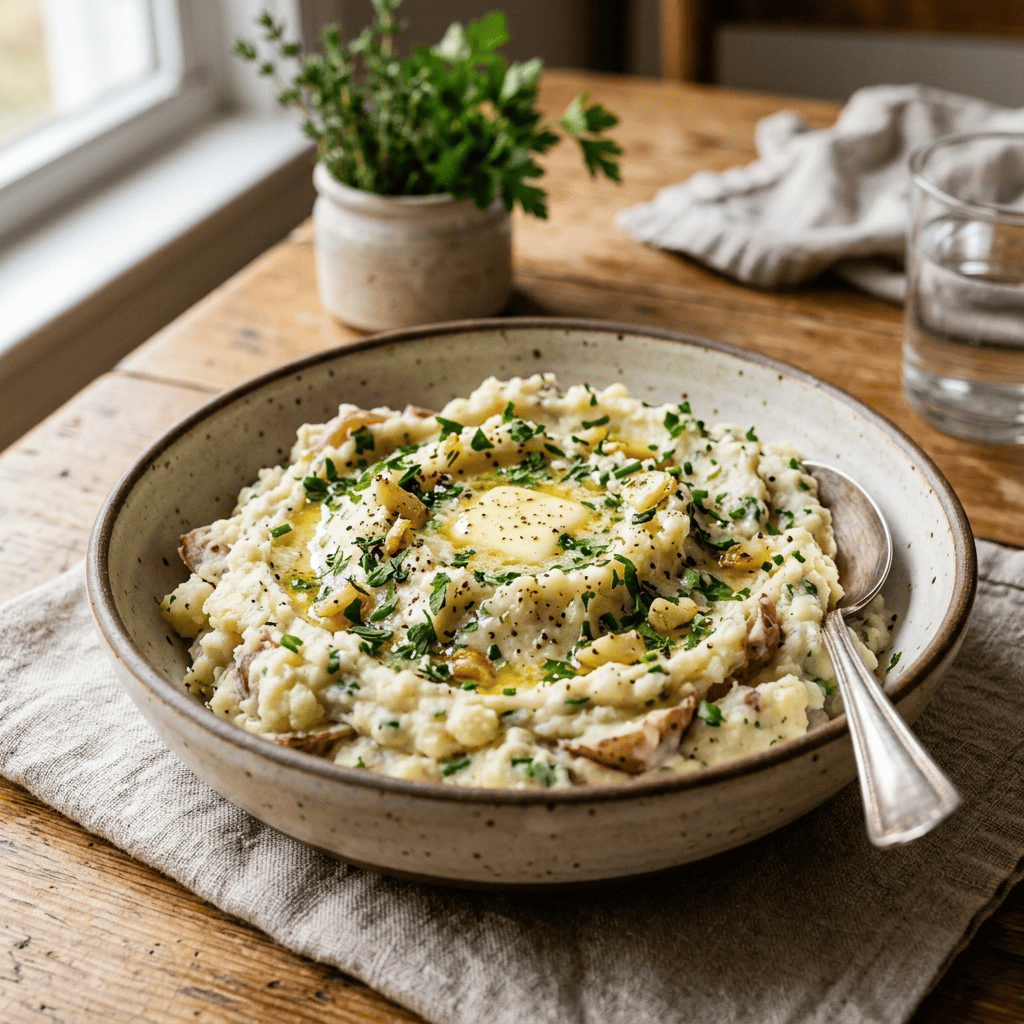
You don’t have to completely give up potatoes to keep things light. Blending them with cauliflower creates a fluffy, buttery texture with a fraction of the heavy carbs and calories.
- The Blend: A 50/50 mix of steamed cauliflower florets and skin-on red potatoes (the skins add rustic texture and extra fiber).
- The Creaminess: Skip the heavy cream and cream cheese. Mash using extra virgin olive oil, a splash of unsweetened almond milk, and plenty of roasted garlic.
- The Finish: Fold in a generous handful of fresh, chopped chives and rosemary.
- Why it’s healthy: Cauliflower brings vitamin C and cellular-protecting antioxidants, while olive oil provides heart-healthy monounsaturated fats.
Prep time: 15 mins | Cook time: 20 mins | Servings: 6
- Chop the Veggies: Wash and chop 1 lb of red potatoes into 1-inch chunks (leave the skins on). Cut 1 large head of cauliflower into florets.
- Boil or Steam: Place the potato chunks in a large pot, cover with water, add a pinch of salt, and bring to a boil. Cook for 10 minutes, then add the cauliflower florets to the same pot. Boil together for another 10 minutes until both are completely fork-tender. Drain thoroughly and let sit in the colander for 2 minutes to let excess steam escape (this prevents watery mash).
- Sauté the Garlic: While boiling, warm 3 tbsp extra virgin olive oil in a small pan over low heat. Add 4 minced garlic cloves and cook for 2 minutes until fragrant but not browned.
- Mash: Return the potatoes and cauliflower to the warm pot. Pour in the garlic oil and ¼ cup unsweetened almond milk (warm). Use a potato masher to smash the mixture until it reaches a rustic, fluffy texture.
- Season: Stir in ¼ cup finely chopped fresh chives, 1 tbsp minced fresh rosemary, salt, and black pepper to taste.
3. Shaved Brussels Sprout & Pomegranate Salad with Dijon Cider Vinaigrette
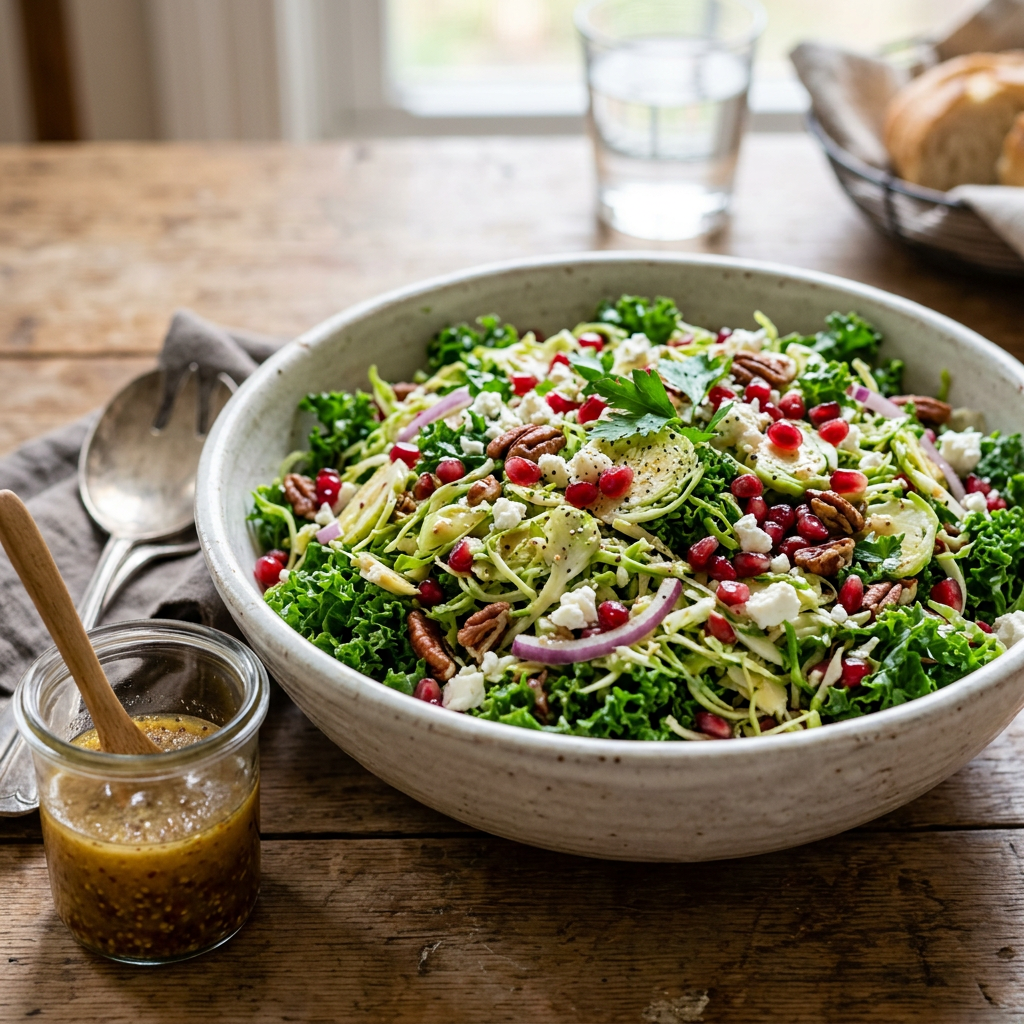
Skip the heavy, flour-laden green bean casserole for a bright, raw, and refreshing salad that cuts through the richness of the rest of the meal.
- The Base: Finely shaved or chopped raw Brussels sprouts and crisp lacinato kale.
- The Toppings: Vibrant pomegranate seeds (which look like little jewels on the plate) and toasted pumpkin seeds (pepitas).
- The Dressing: A simple whisk of apple cider vinegar, Dijon mustard, a touch of raw honey, and olive oil.
- Why it’s healthy: Raw cruciferous vegetables provide powerful digestive enzymes that help your body process a large holiday meal with ease.
Prep time: 20 mins | No cook time | Servings: 6
- Shred the Greens: Wash and trim the ends off 1 lb of Brussels sprouts. Use a food processor with a slicing disc (or a sharp knife) to shred them finely. Destem 1 bunch of lacinato kale and ribbon-cut it into thin strips. Toss the greens together in a large serving bowl.
- Massage the Greens: Drizzle 1 tsp of olive oil and a pinch of salt over the kale and sprouts. Use clean hands to gently massage the greens for 1–2 minutes. This breaks down the tough fibers, making them tender and easier to digest.
- Whisk the Dressing: In a small bowl, whisk together ¼ cup extra virgin olive oil, 2 tbsp apple cider vinegar, 1 tbsp Dijon mustard, 1 tbsp raw honey (or maple syrup), and a pinch of salt and pepper.
- Assemble: Pour the dressing over the massaged greens and toss well to coat.
- Garnish: Right before serving, fold in ½ cup fresh pomegranate seeds and ⅓ cup toasted pumpkin seeds (pepitas) for beautiful color and crunch.
4. Orange Ginger Cranberry Relish
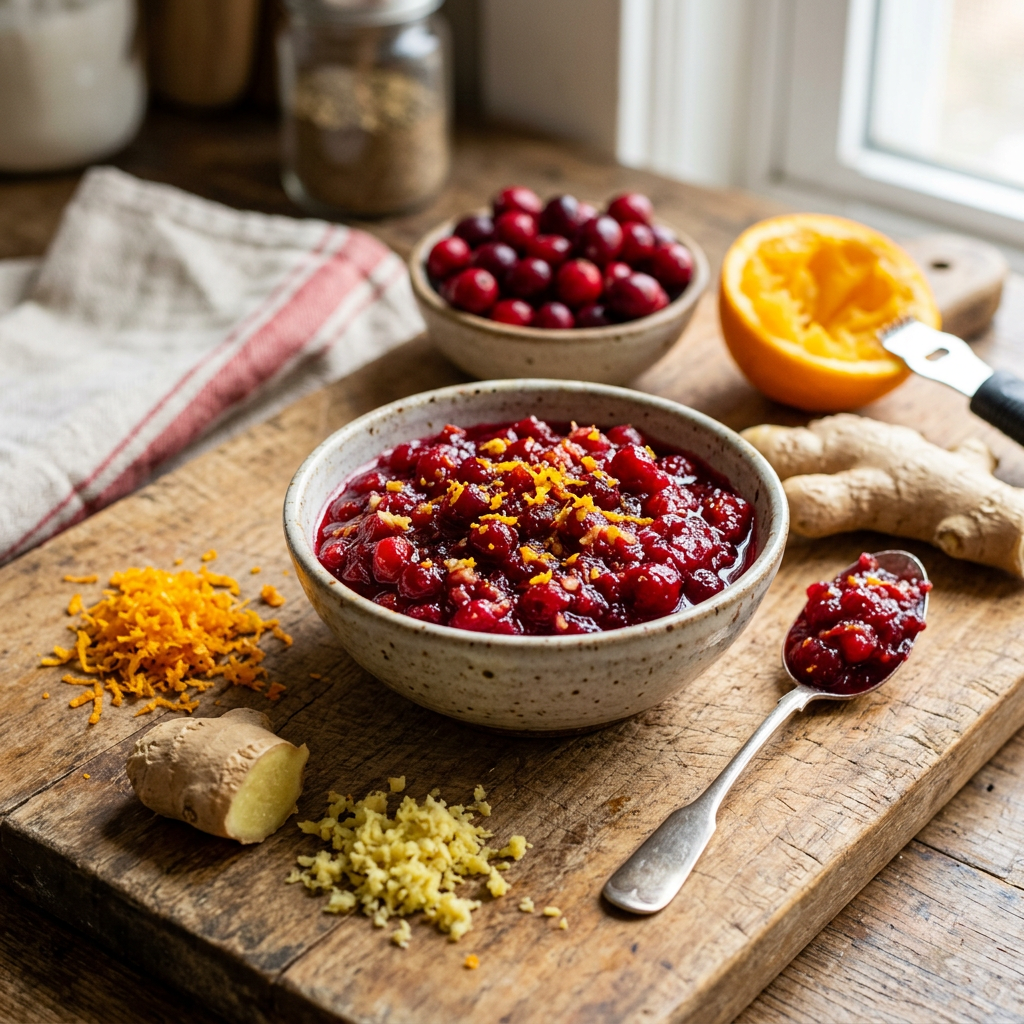
Canned cranberry sauce is usually loaded with high-fructose corn syrup. This fresh, zesty alternative takes 10 minutes to make and pops with clean flavor.
- The Ingredients: Fresh, whole organic cranberries, simmered with the juice and zest of an orange, a hint of grated fresh ginger, and sweetened gently with pure maple syrup.
- The Twist: A pinch of cinnamon adds natural warmth.
- Why it’s healthy: Cranberries are absolute powerhouses of antioxidants, and fresh ginger acts as a natural digestive aid.
Prep time: 5 mins | Cook time: 10 mins | Yield: 2 cups
- Combine: In a medium saucepan, combine 12 oz of fresh organic cranberries (washed), the juice and zest of 1 organic orange, 1 tsp freshly grated ginger, and ⅓ cup pure maple syrup.
- Simmer: Bring the mixture to a gentle boil over medium-high heat. Once boiling, reduce the heat to low and let it simmer for 8–10 minutes.
- Pop: Stir occasionally. You will hear the cranberries begin to burst open. Use the back of your spoon to gently mash some of them against the side of the pot to create your desired texture.
- Cool: Remove from heat and stir in ¼ tsp of ground cinnamon. The relish will look a bit loose but will thicken significantly as it cools. Serve chilled or at room temperature. (Note: This can be made up to 3 days in advance!)
5. No-Bake Pecan Crust Pumpkin Pie Bars
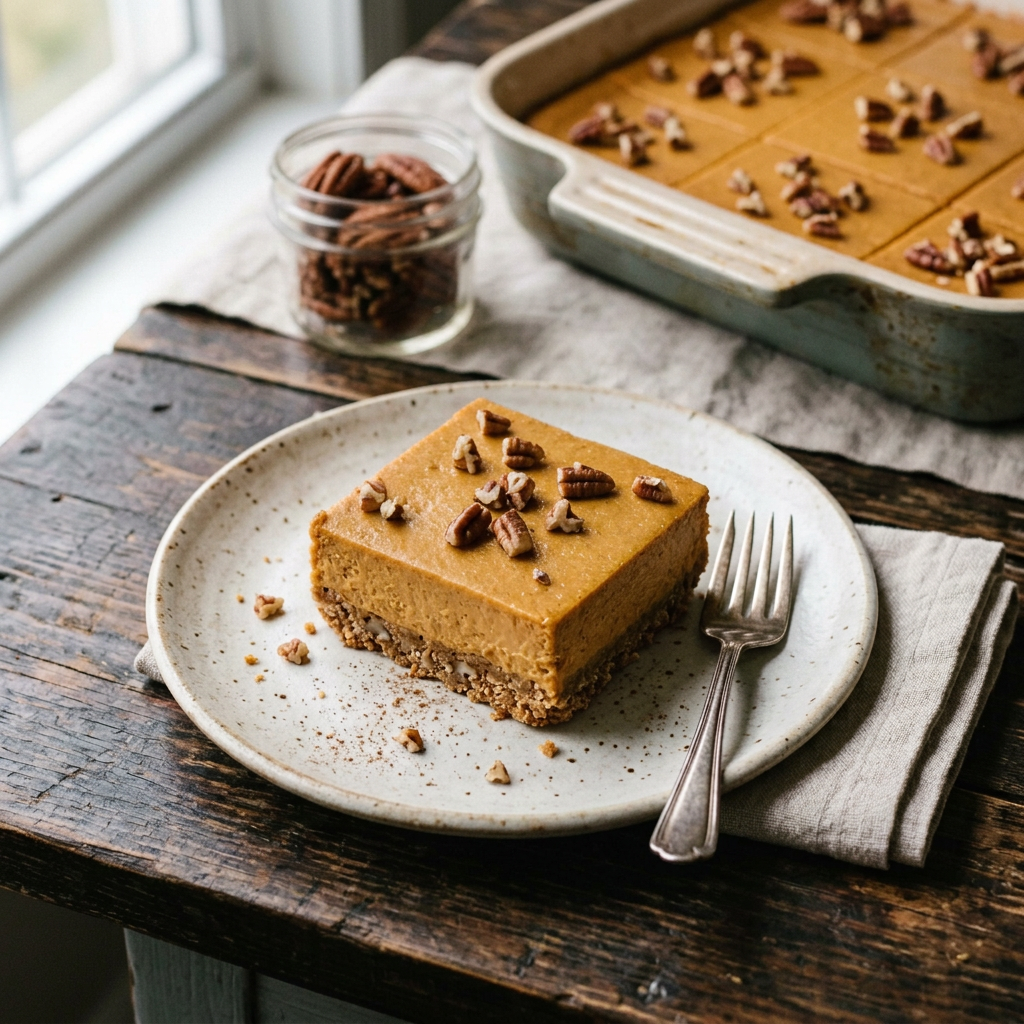
A Thanksgiving feast isn’t complete without pumpkin pie. This version is dairy-free, gluten-free, and incredibly rich without the post-dessert sugar crash.
- The Crust: A raw, press-in crust made from raw pecans, medjool dates, and a pinch of sea salt blended in a food processor.
- The Filling: Pure pumpkin puree whisked with coconut cream, pumpkin pie spice, and a touch of maple syrup, set naturally in the fridge using a bit of agar-agar or arrowroot powder.
- Why it’s healthy: Eliminating refined flour and white sugar means your guests get a dose of vitamin A and healthy fats, keeping holiday energy high for post-dinner family fun.
Prep time: 20 mins | Chill time: 4 hours | Servings: 9–12 bars
- Make the Crust: Line an 8×8-inch baking pan with parchment paper, leaving an overhang on the sides. In a food processor, blend 2 cups of raw pecans, 1 cup of pitted Medjool dates (if they feel dry, soak them in hot water for 10 minutes then drain), and a pinch of sea salt. Blend until it forms a sticky, crumbly dough that holds together when pinched. Press firmly and evenly into the bottom of your lined pan.
- Blend the Filling: Wipe out the food processor. Add 1 can (15 oz) of pure pumpkin puree (not pumpkin pie mix), ½ cup of thick coconut cream (the solid white part from the top of a chilled can of full-fat coconut milk), ⅓ cup pure maple syrup, 2 tsp pumpkin pie spice, and 1 tsp pure vanilla extract.
- Thicken the Filling: To ensure the bars set without baking, blend 2 tbsp of arrowroot powder (or tapioca starch) into the pumpkin mixture until completely smooth and emulsified.
- Pour and Chill: Pour the pumpkin filling over the pecan crust and smooth the top with a spatula. Place the pan flat in the refrigerator to chill for at least 4 hours (or overnight) until firm.
- Slice: Use the parchment paper overhang to lift the bars out of the pan. Slice into squares using a warm, sharp knife, cleaning the blade between cuts. Garnish with a sprinkle of cinnamon or extra chopped pecans if desired.
The Heart of the Gathering
When the candles are lit, the food is served, and your family takes their seats, remember that the most important element of the table is the love filling the chairs around it. By choosing conscious, healthy materials and focusing on connection, you are creating a space where physical wellness and emotional warmth live side-by-side.
From our healthy home to yours, we wish you a beautiful, joyful, and deeply connected Thanksgiving.